Terminal
Lesson 2
The terminal (also called command line or CLI) is your direct line of communication with your computer. Instead of clicking buttons and menus, you type commands to get things done. This might feel strange at first, but it’s incredibly powerful—and essential for cloud engineering.
Think of it this way: using a graphical interface is like ordering from a restaurant menu, while using the terminal is like being able to walk into the kitchen and cook exactly what you want. You’ll use the terminal to deploy cloud resources, manage servers, and automate tasks that would take hours to do manually.
Terminal Vocabulary:
- Directory = Folder (we’ll use these terms interchangeably)
- Change directory = Navigate to/open a folder
- Working directory = The folder you’re currently in
- Command = An instruction you type to make something happen
Table of contents
- Terminal
Essential Commands You’ll Master
By the end of this lesson, you’ll be comfortable with these everyday commands:
| Command | What it does | Real-world use |
|---|---|---|
pwd | Shows your current location | “Where am I?” |
ls | Lists files and folders | “What’s in here?” |
cd | Navigate to a folder | “Go to…” |
mkdir | Create a new folder | “Make a folder” |
touch | Create a new file | “Make a file” |
rm | Delete a file | “Delete this” |
rm -rf | Delete a folder | “Delete this folder” |
Let’s Start Practicing!
We’ll walk through each command step-by-step. Don’t worry about memorizing everything—you’ll naturally remember these through practice.
Step 1: Opening Your Terminal
Mac Users:
- Press
Cmd + Spaceto open Spotlight - Type “Terminal”
- Press Enter
Linux Users:
- Press
Ctrl + Alt + T - Or search for “Terminal” in your applications
Windows Users:
- Search for “Command Prompt” or “PowerShell”
- For the best experience, consider installing Windows Terminal
You’ll see a window that looks something like this:

Don’t be intimidated by the blank screen—this is your command center!
Step 2: Finding Your Location - pwd
Your first command! Type this and press Enter:
pwd
What happens: You’ll see something like /Users/yourname (Mac) or /home/yourname (Linux)
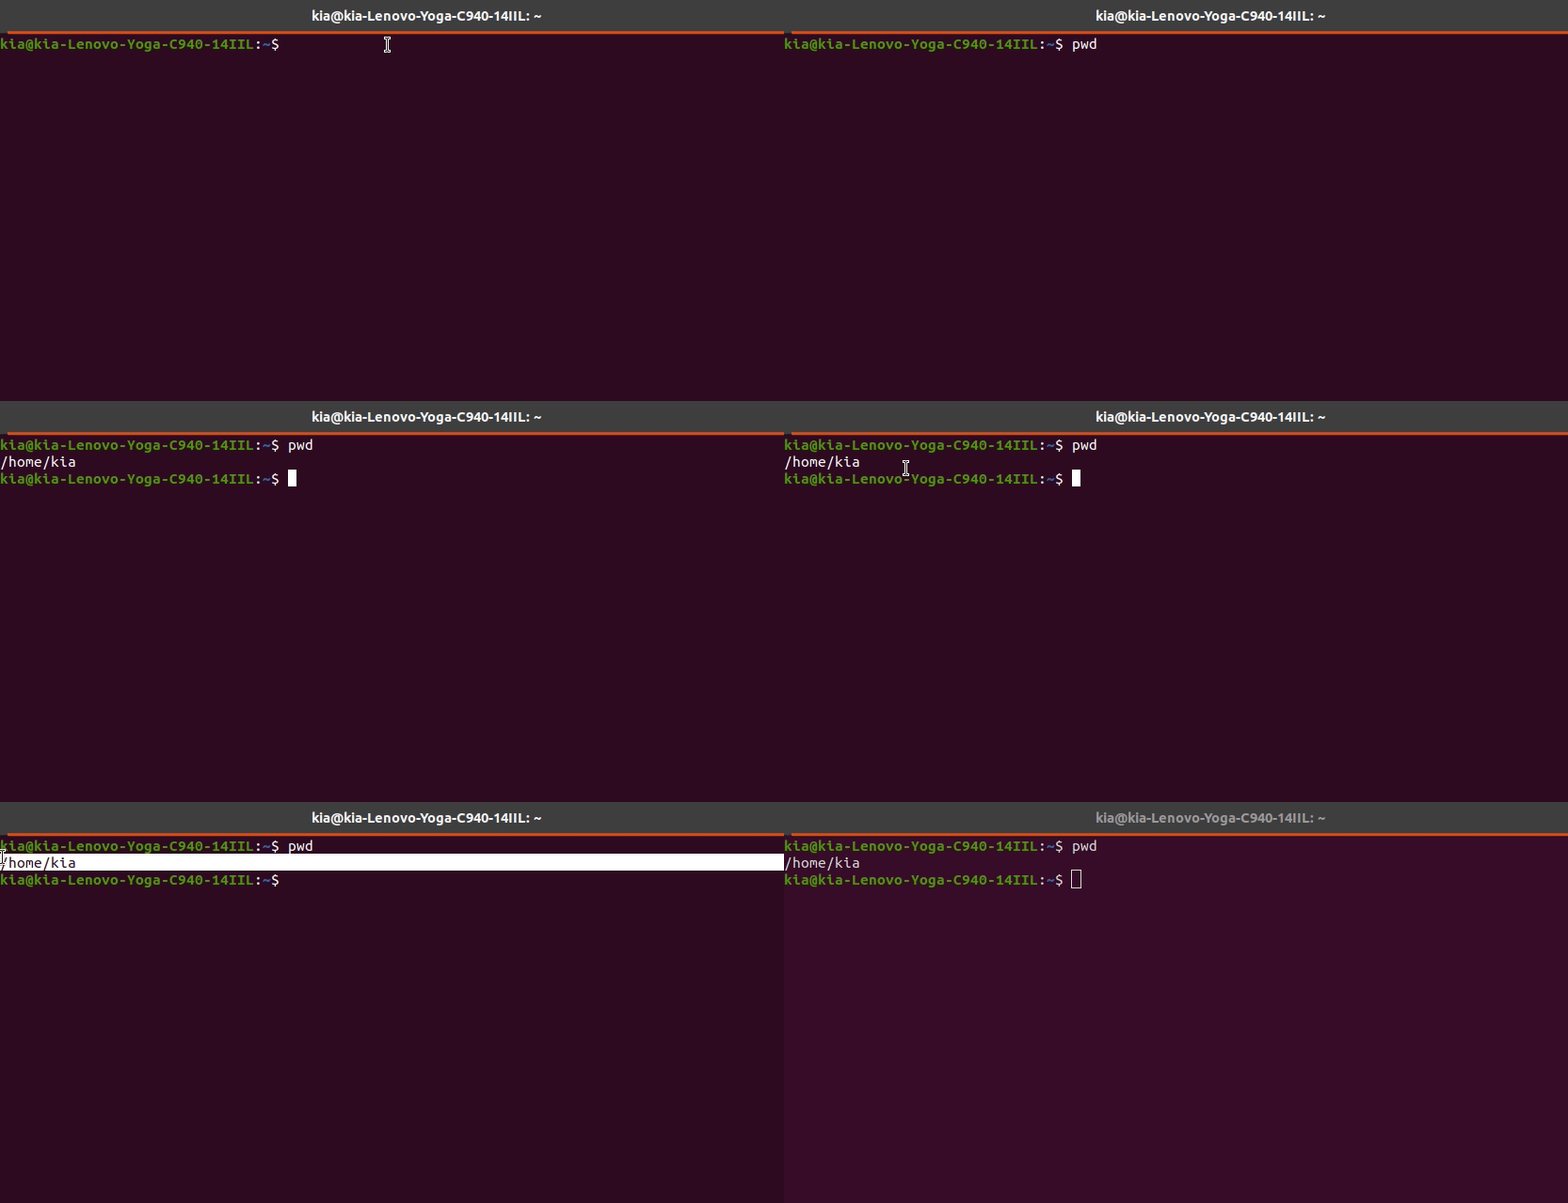
What it means: pwd stands for “print working directory”. It’s like asking “What folder am I in right now?” This is your home directory—your personal space on the computer.
Pro tip: Lost in the terminal? Type
pwdto instantly see where you are.
Step 3: See What’s Around You - ls
Now let’s see what’s in your home directory:
ls
What happens: You’ll see a list of folders and files
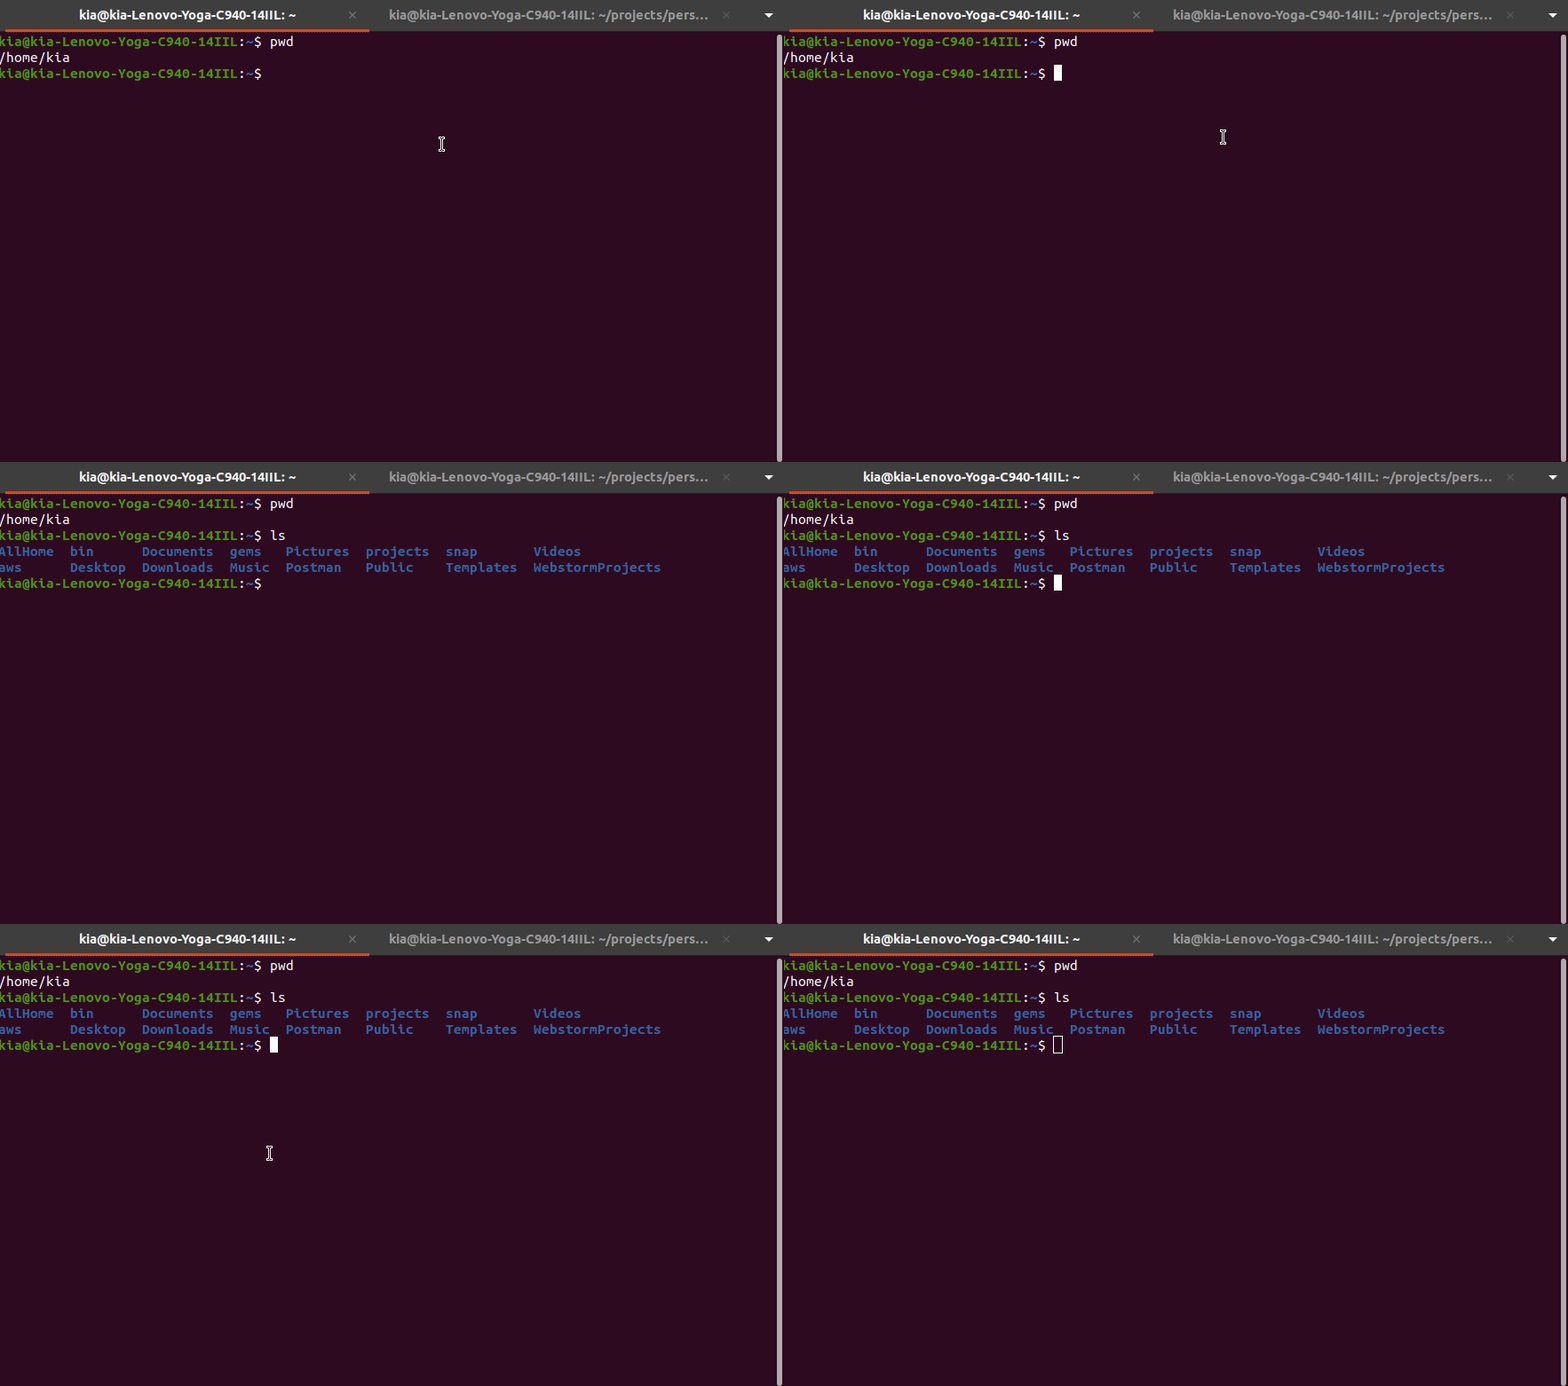
Understanding the output:
- Folders often appear in blue or bold
- Files appear in regular text or different colors
- Look for familiar names like Desktop, Documents, Downloads
Can’t see Desktop? No problem! Pick any folder you see—we’ll use that instead.
Step 4: Navigate to a Folder - cd
Let’s move to your Desktop folder:
cd Desktop
(If you don’t have Desktop, use any folder name from your ls output)
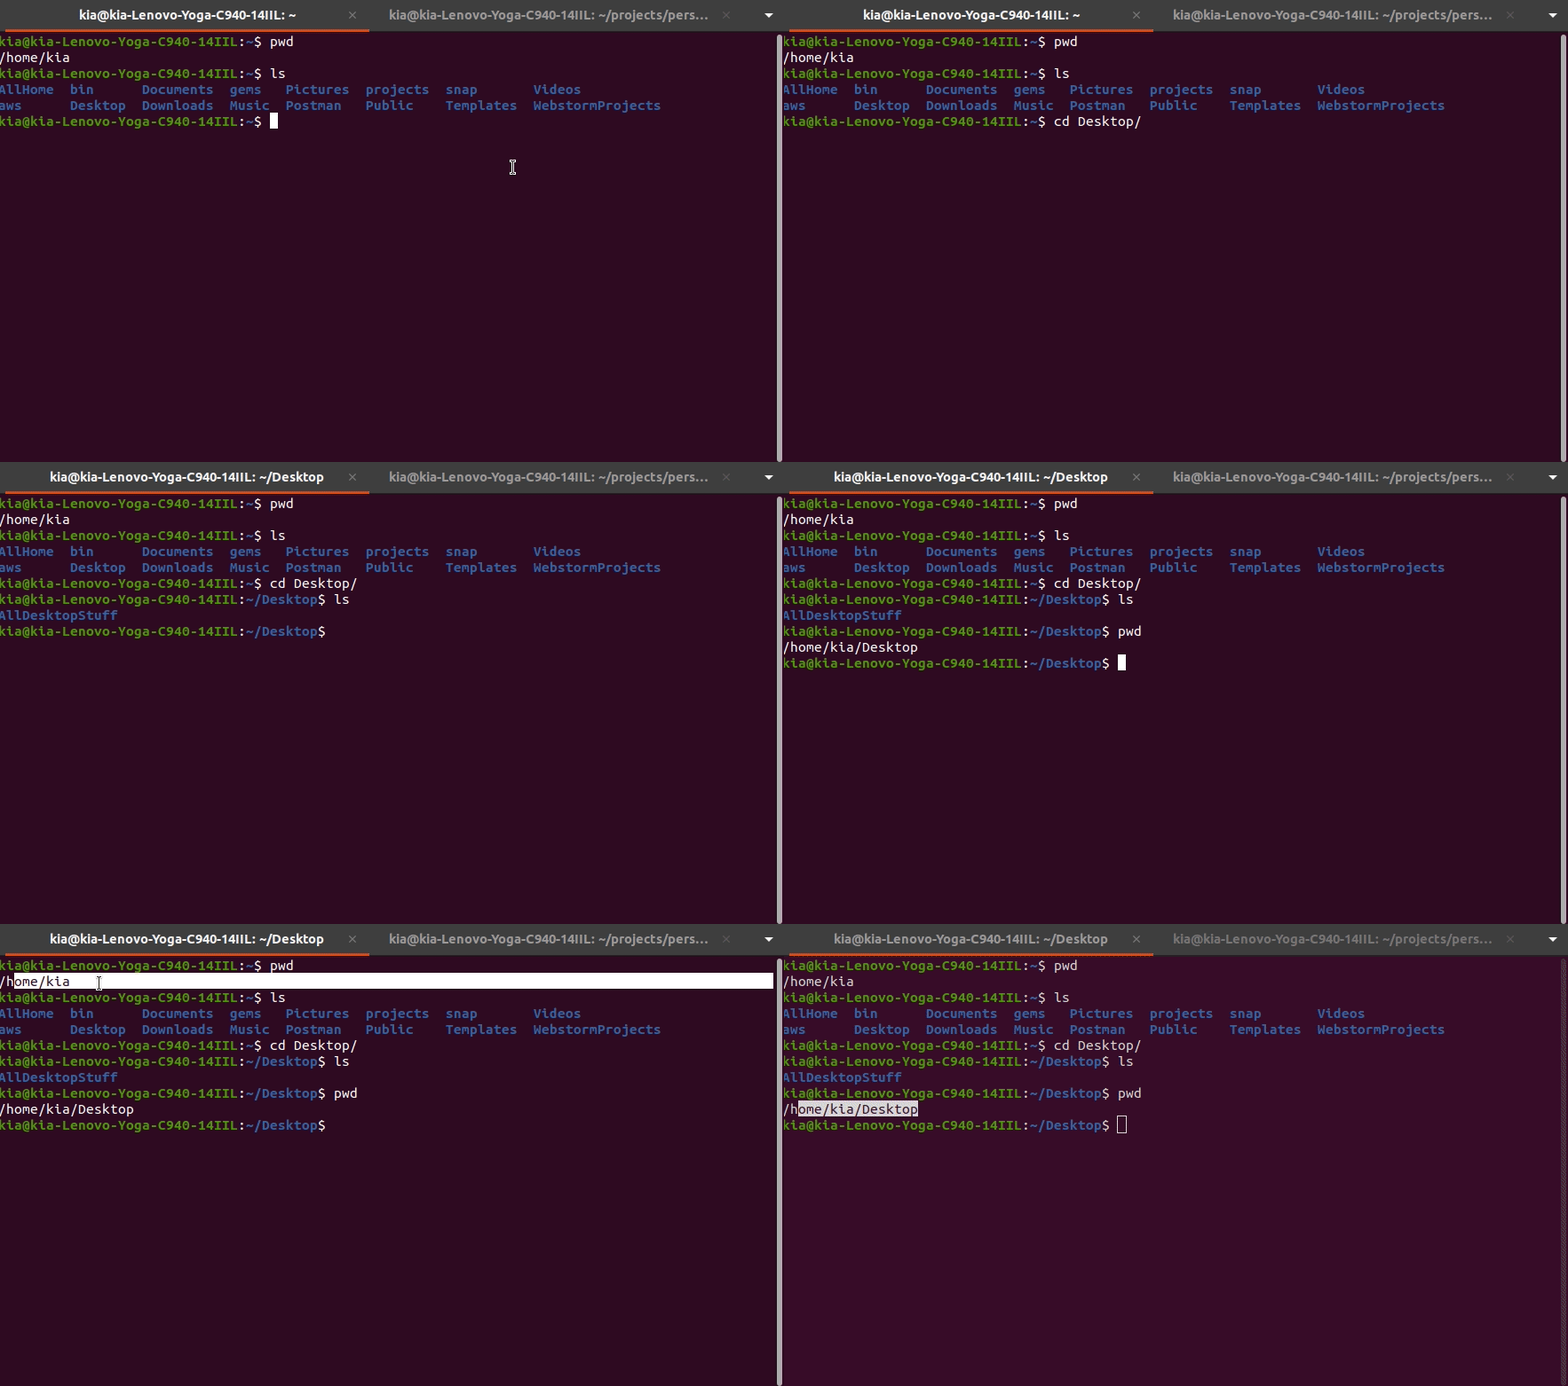
Let’s verify we moved:
- Type
pwd- Notice the path now ends with/Desktop - Type
ls- You’ll see the contents of your Desktop
What just happened: cd stands for “change directory”. You just navigated into a folder, exactly like double-clicking a folder in your file explorer.
Step 5: Create Your First Folder - mkdir
Let’s create a practice folder:
mkdir learn-terminal
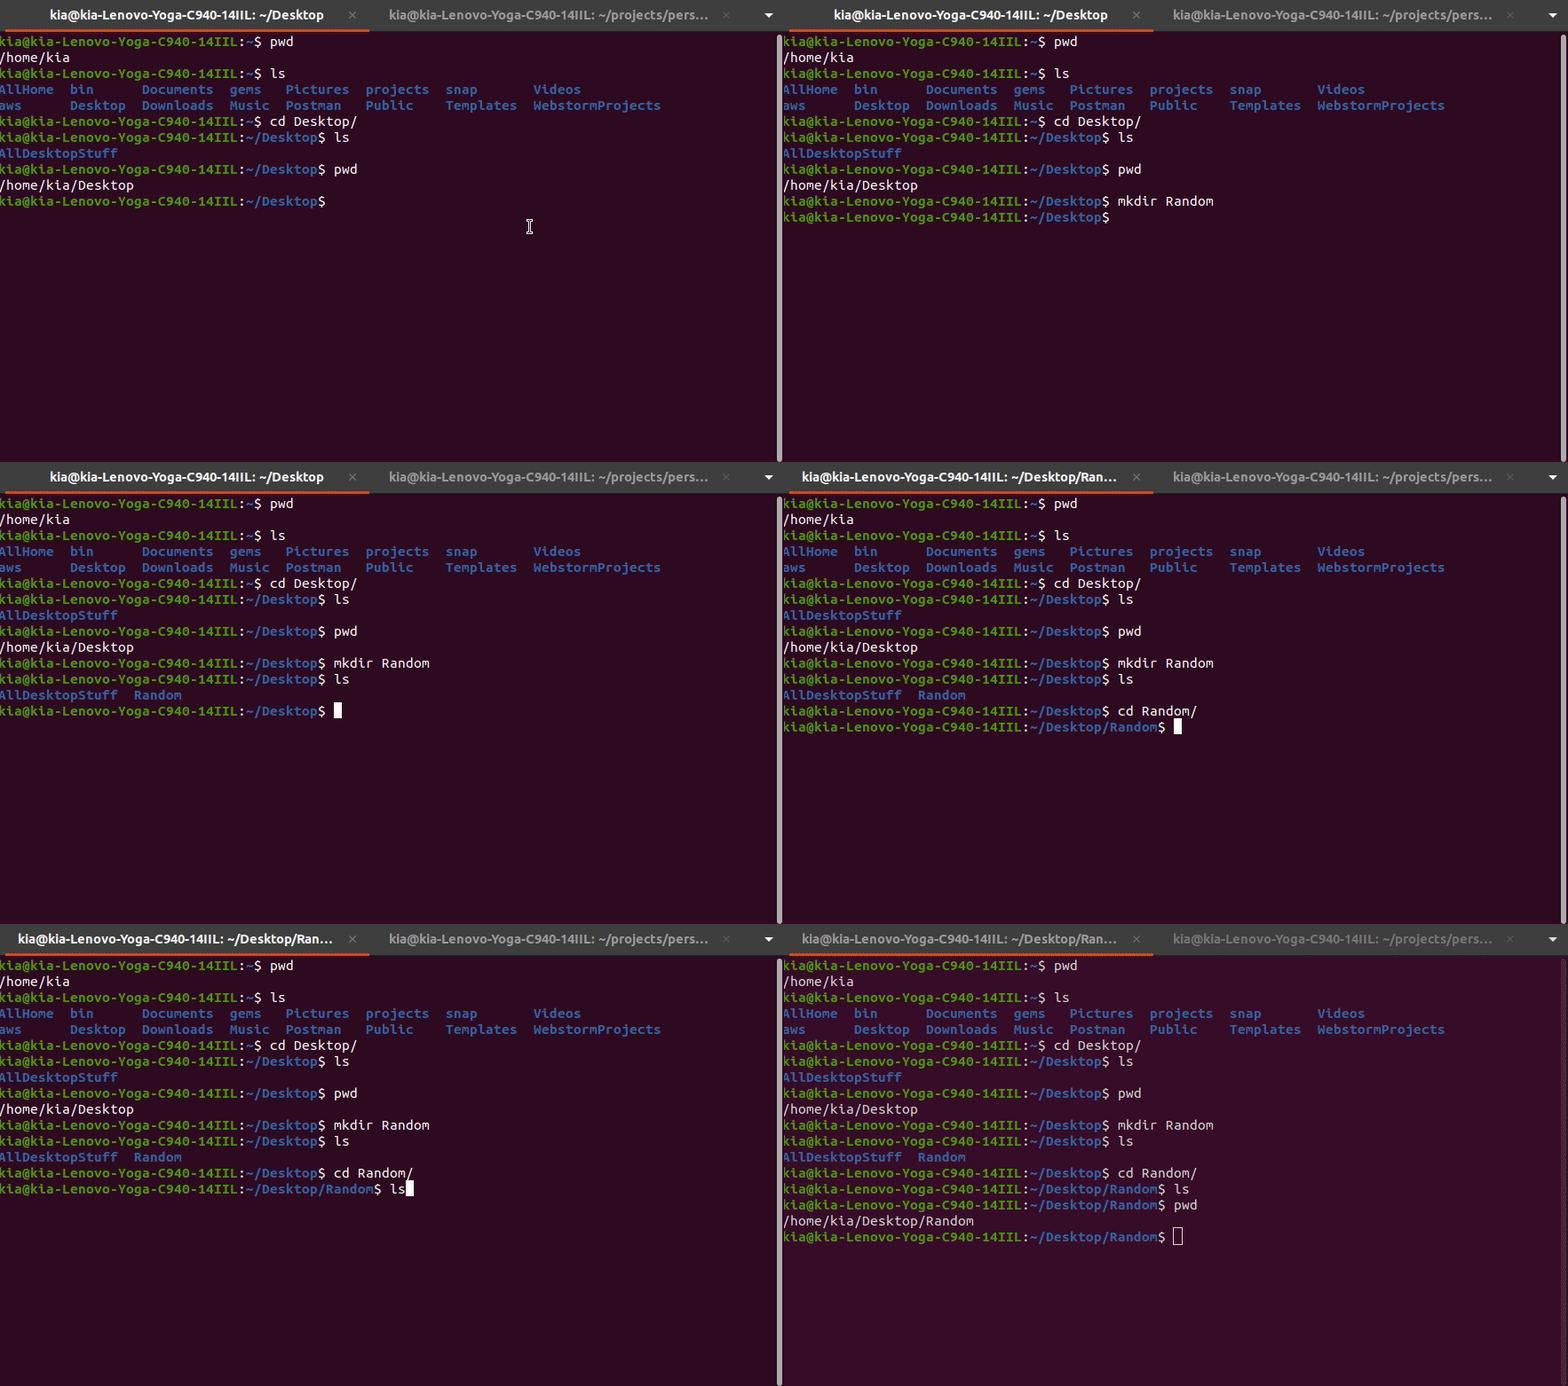
Verify it worked:
ls
You should see learn-terminal in the list!
Now let’s go inside:
cd learn-terminal
ls
Notice nothing appears after ls? That’s because our new folder is empty—let’s fix that!
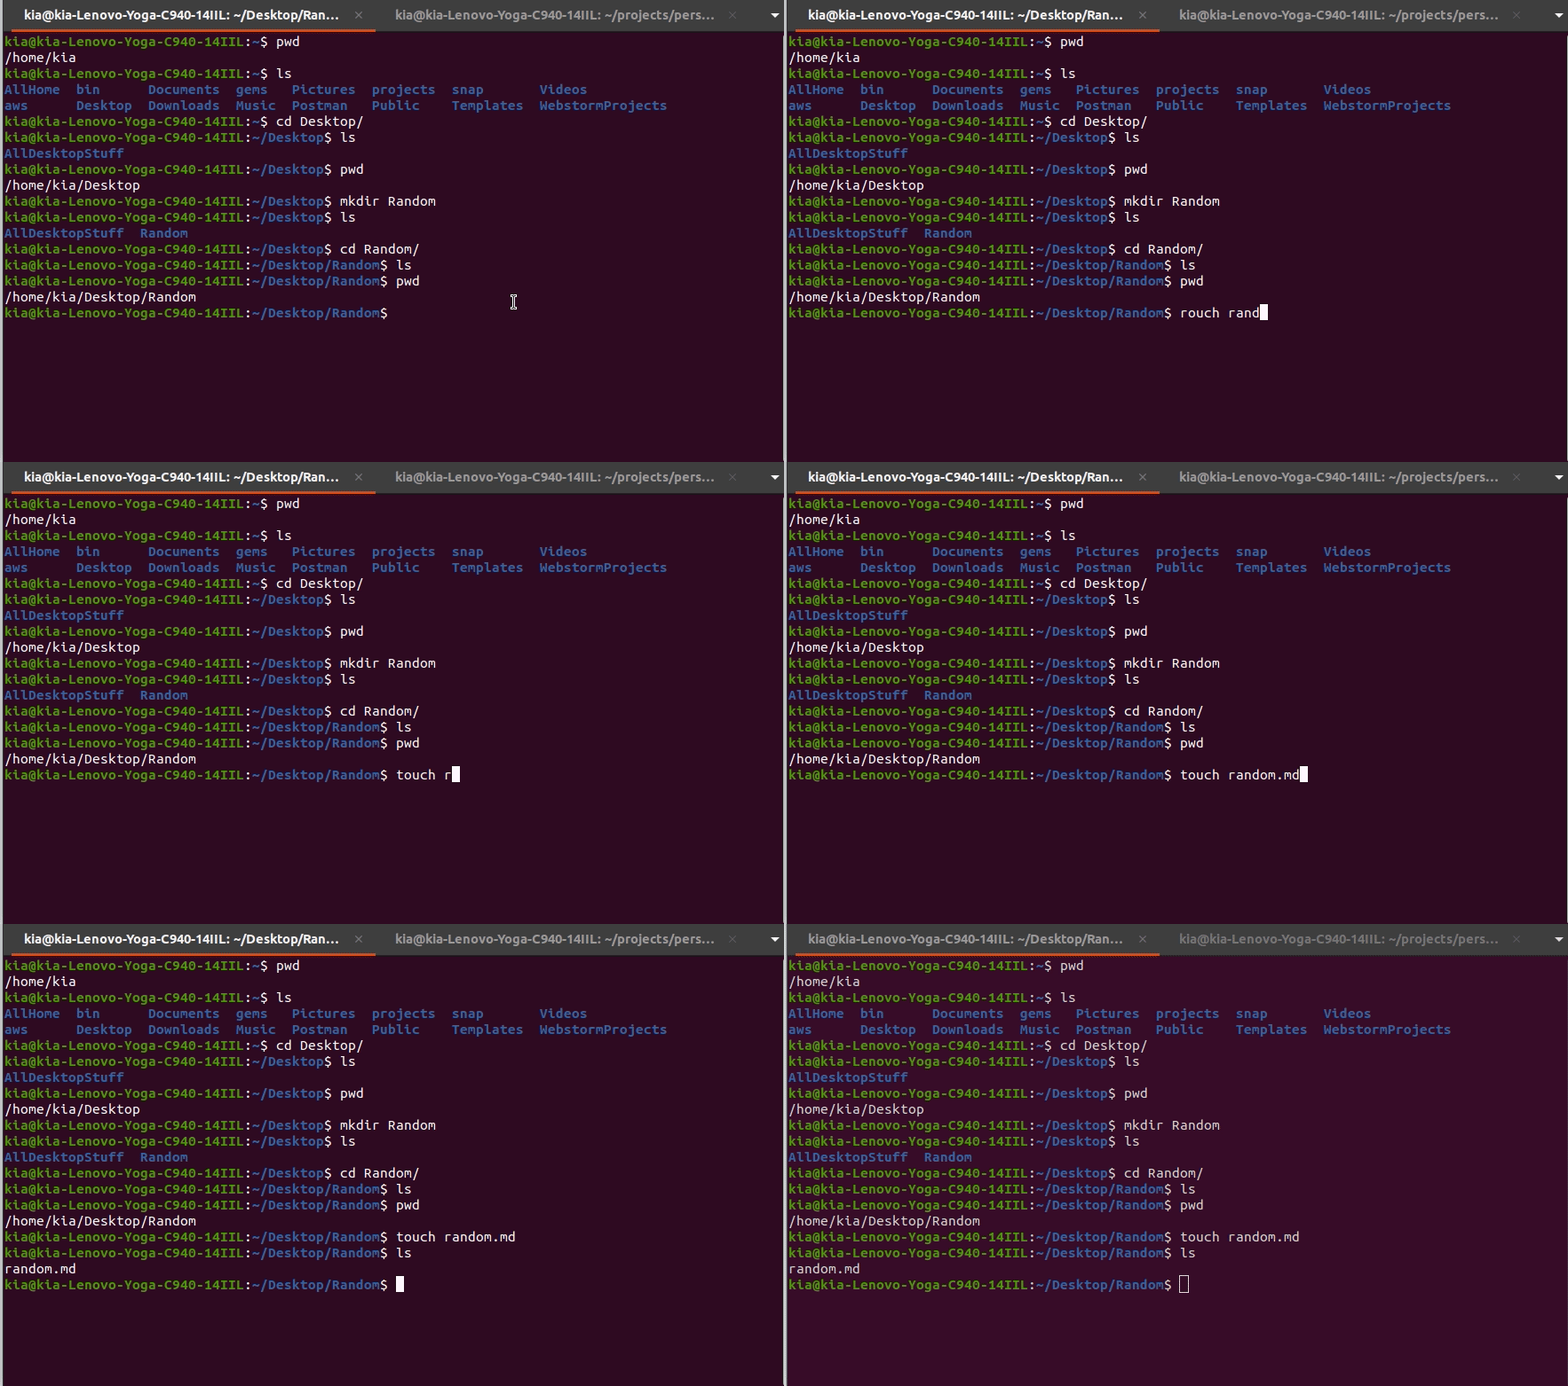
Step 6: Create Files - touch
Let’s create some files in our practice folder:
touch notes.txt
Verify with:
ls
Try creating more files:
touch README.md
touch script.js
touch data.json
Check your work:
ls
You should see all four files listed!
File Extensions: The part after the dot (
.txt,.md,.js) tells programs what type of file it is. You’ll use.tffor Terraform files later!
Step 7: Delete Files - rm
Let’s clean up by removing a file:
rm notes.txt
Verify it’s gone:
ls
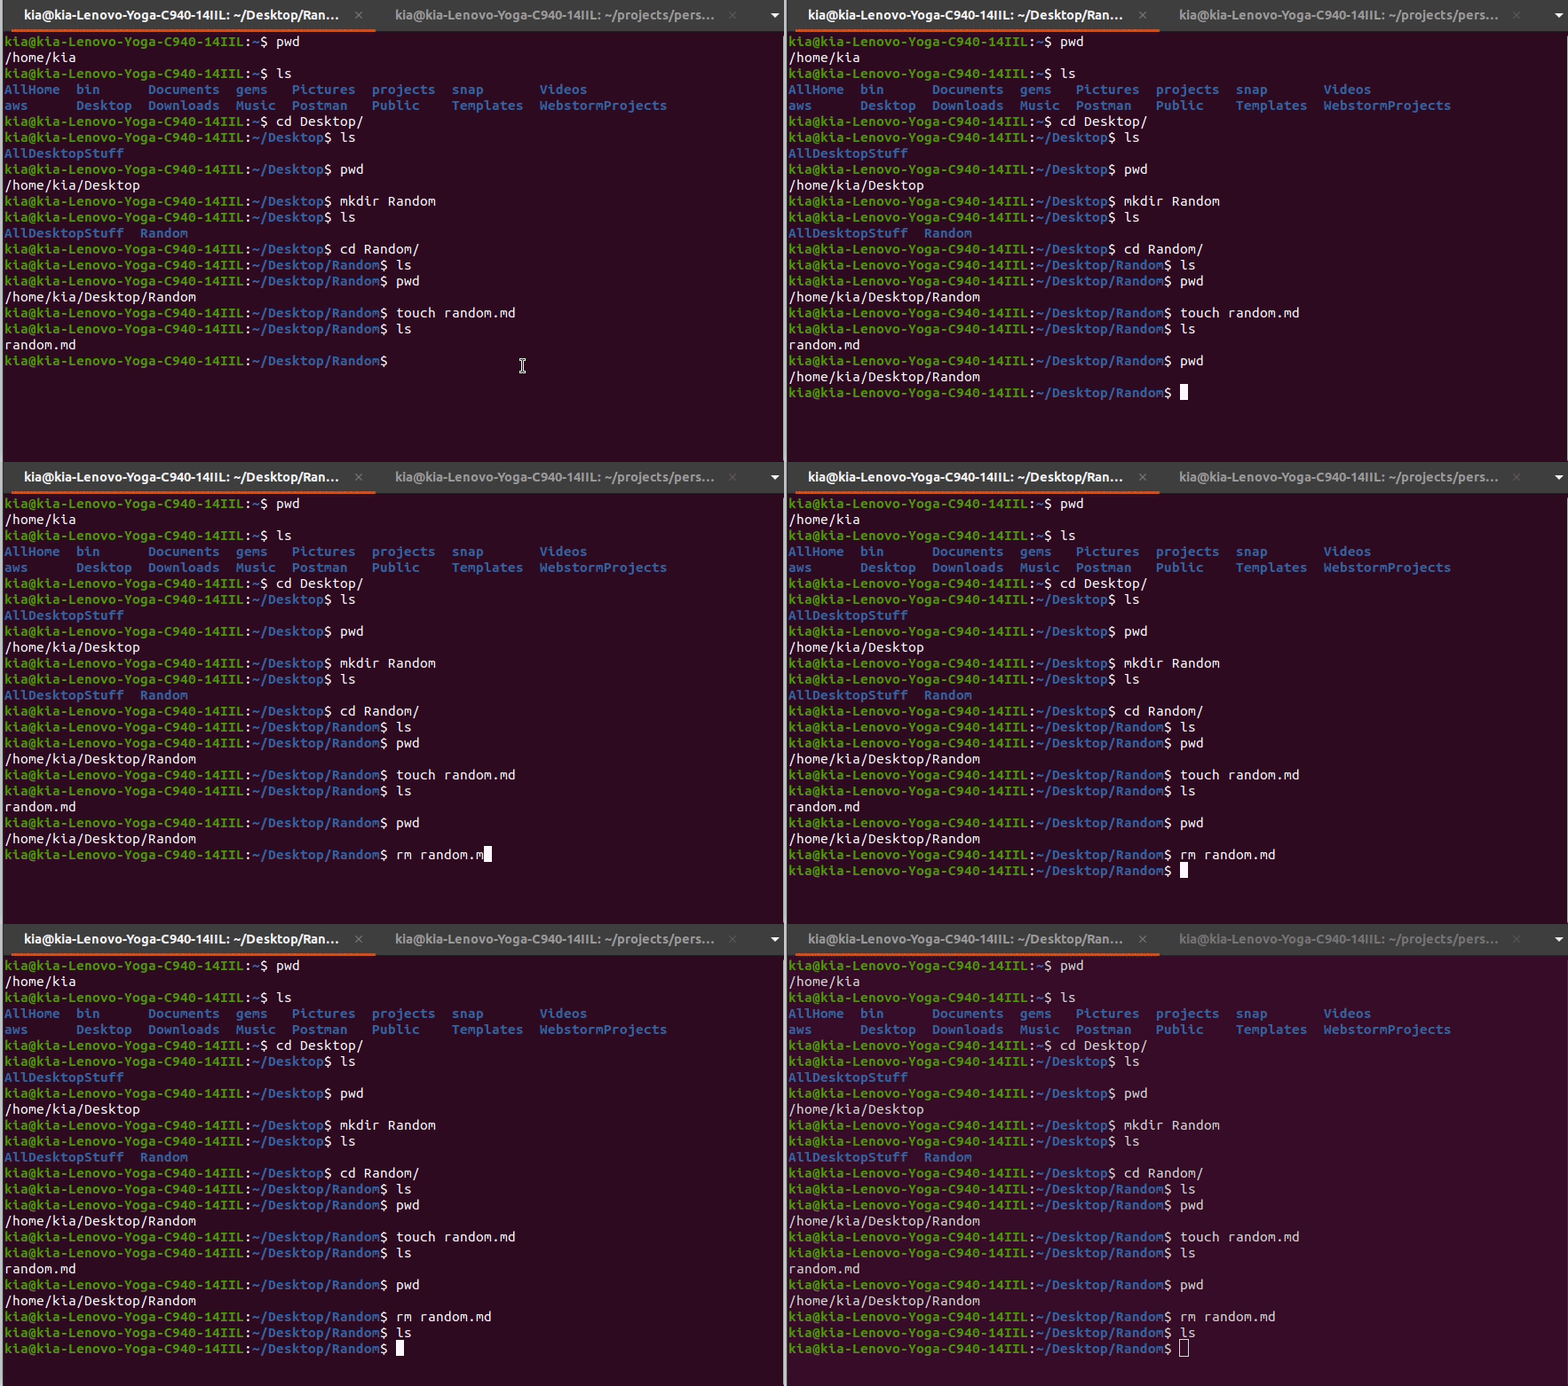
Important: rm permanently deletes files—there’s no trash bin! Always double-check before using it.
Practice: Try deleting another file:
rm data.json
ls
Step 8: Delete Folders - rm -rf
First, let’s go back up one level:
cd ..
What’s
..? Two dots mean “parent directory”—the folder that contains the current one.
Check where you are:
pwd
You should be back in Desktop (or wherever you started).
Now delete the practice folder:
rm -rf learn-terminal
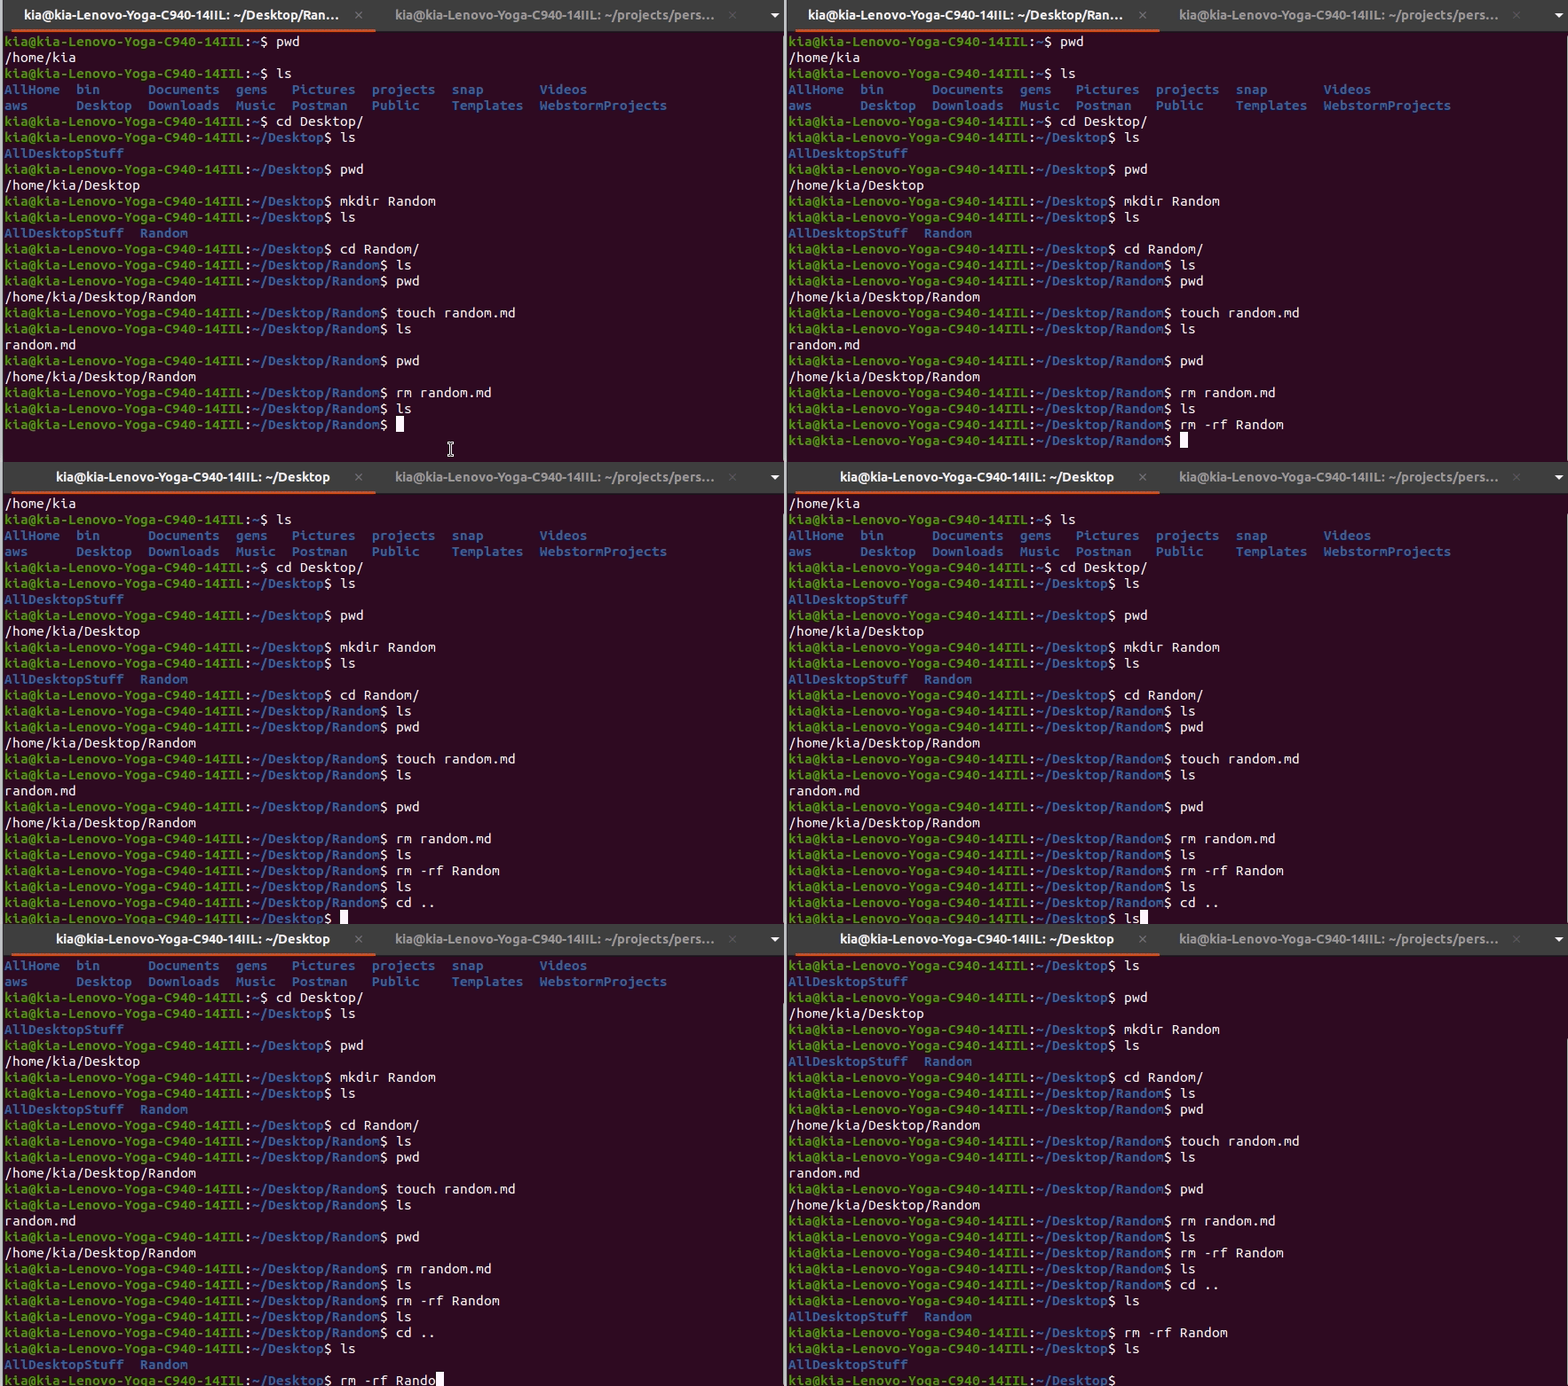
Verify it’s gone:
ls
Warning:
rm -rfis powerful and dangerous! It deletes folders and everything inside them permanently. Always triple-check your command before pressing Enter.
Command Reference Card
Save this for quick reference:
# Navigation
pwd                 # Where am I?
ls                  # What's here?
cd folder-name      # Go into a folder
cd ..               # Go back up one level
cd ~                # Go to home directory

# Creating
mkdir folder-name   # Create a folder
touch file.txt      # Create a file

# Deleting
rm file.txt         # Delete a file
rm -rf folder-name  # Delete a folder and everything in it
Pro Tips for Success
- Tab Completion: Start typing a folder name and press Tab—the terminal will complete it for you!
- Up Arrow: Press the up arrow to see previous commands
- Clear Screen: Type
clearwhen your terminal gets cluttered - Get Help: Most commands have a
--helpoption (tryls --help)
Customizing Your Terminal with .bashrc
Your terminal has a configuration file called .bashrc (or .zshrc on newer Macs) that runs every time you open a new terminal. This is where you can add shortcuts, customize your prompt, and set up your development environment.
Finding Your Configuration File
# For Linux and older Macs (using bash)
nano ~/.bashrc

# For newer Macs (using zsh)
nano ~/.zshrc
Common Customizations
Here’s a practical example - adding shortcuts (called aliases) to your configuration:
# Shortcuts for common commands
alias ll='ls -la'              # List all files with details
alias ..='cd ..'               # Go up one directory
alias ...='cd ../..'           # Go up two directories
alias awslogin='aws sso login' # Quick AWS login

# Show current git branch in terminal prompt
parse_git_branch() {
    git branch 2> /dev/null | sed -e '/^[^*]/d' -e 's/* \(.*\)/(\1)/'
}

# Add colors and git branch to your prompt
export PS1="\u@\h \[\033[32m\]\w\[\033[33m\]\$(parse_git_branch)\[\033[00m\] $ "
After adding these lines, save and reload your configuration:
source ~/.bashrc # or source ~/.zshrc for Mac

Now you can type ll instead of ls -la, and your terminal will show which git branch you’re on!
Editing Files with Nano
Nano is a beginner-friendly text editor that works right in your terminal. Unlike more complex editors like Vim, Nano shows all available commands at the bottom of the screen.
Basic Nano Commands
# Open a file (creates it if it doesn't exist)
nano filename.txt

# Inside nano:
# - Type normally to add text
# - Use arrow keys to move around
# - Ctrl+S to save
# - Ctrl+X to exit
# - Ctrl+K to cut a line
# - Ctrl+U to paste
Try It Yourself
- Create and edit a new file:
nano my-first-file.txt - Type some text:
Hello from the terminal! This is my first file edited in nano. - Save with
Ctrl+S - Exit with
Ctrl+X - View your file:
cat my-first-file.txt

Nano is perfect for quick edits to configuration files, scripts, and documentation. As you grow more comfortable, you might explore more powerful editors like Vim or Emacs, but Nano will always be there as your reliable quick-edit tool.
Practice Exercise
Before moving on, try this mini-project to cement your skills:
- Create a folder called
aws-learning - Go into that folder
- Create three files:
notes.md,commands.txt,progress.log - List the contents to verify
- Delete
progress.log - Go back up one level
- Delete the entire
aws-learningfolder
Click for solution
```bash mkdir aws-learning cd aws-learning touch notes.md commands.txt progress.log ls rm progress.log cd .. rm -rf aws-learning ```What You’ve Accomplished
✅ Opened and navigated the terminal
✅ Created and deleted files and folders
✅ Learned essential navigation commands
✅ Built confidence with the command line
These skills are your foundation for everything that follows. In AWS, you’ll use these same commands to manage cloud servers, deploy applications, and automate infrastructure.
Ready for the cloud? Let’s set up your AWS account!