Create Your First Web Server
Lesson 2
Ready to make your cloud server do something amazing? Let’s turn it into a web server—a computer that serves web pages to anyone on the internet! Think of it like setting up your own personal website that people around the world can visit.
What’s a web server? It’s like a digital librarian that hands out web pages when people ask for them. When you visit google.com, you’re talking to Google’s web servers.
We’ll learn two ways to create a web server:
- The hands-on way: Connect directly to your server and set it up step-by-step
- The automated way: Write code that sets up everything automatically
Both methods teach important skills you’ll use as a cloud engineer!
Table of contents
- Create Your First Web Server
First: Let’s Create a Server to Work With
Before we can make a web server, we need a server to start with! If you followed the previous lesson and ran terraform destroy, your server is gone (which is good for avoiding charges). Let’s create a new one using the skills you just learned.
Quick Server Setup Review
- Make sure you’re in your project directory:
cd my-first-ec2 pwd # Should show your project path - Check your files are ready:
ls # Should show: aws.tf ec2.tf - Create your server:
terraform applyType
yeswhen prompted and wait for “Apply complete!” - Verify it’s running:
- Go to AWS Console → EC2 → Instances
- You should see your server in “running” state
Need a refresher? Go back to Basic EC2 if you need to review the server creation process.
Now that you have a server running, let’s turn it into something amazing!
Opening the Digital Door (Security Groups)
Before anyone can visit your web server, you need to open the right “doors” on your server. In AWS, these doors are called security groups—think of them as digital bouncers that decide who gets in.
What about the security group we didn’t create? Great question! Even though we didn’t explicitly create a security group in our Terraform code, AWS automatically attached a “default” security group to your server. This default security group is very restrictive—it’s like having a bouncer who doesn’t let anyone in unless they’re on a very specific guest list.
Right now, your server’s doors are locked tight. Let’s open them so people can visit your website:
Step 1: Find Your Server’s Security Settings
- Log into AWS Console
- Use your bookmarked link from earlier lessons
- Navigate to EC2
- Search “EC2” in the top search bar
- Click on “EC2” from the results
- Find Your Instance
- Click “Instances” in the left sidebar
- Click on your instance’s ID (blue link)
- Go to Security Settings
- Click the “Security” tab
- You’ll see a security group name (probably “default” or something like “sg-12345abcd”)
- Click on the security group name (blue link)
Step 2: Open the Doors
- Edit the Rules
- Click “Edit inbound rules”
- Add a New Rule
- Click “Add rule”
- Type: Select “All traffic”
- Source: Select “0.0.0.0/0” (this means “anywhere on the internet”)
- Save Changes
- Click “Save rules”
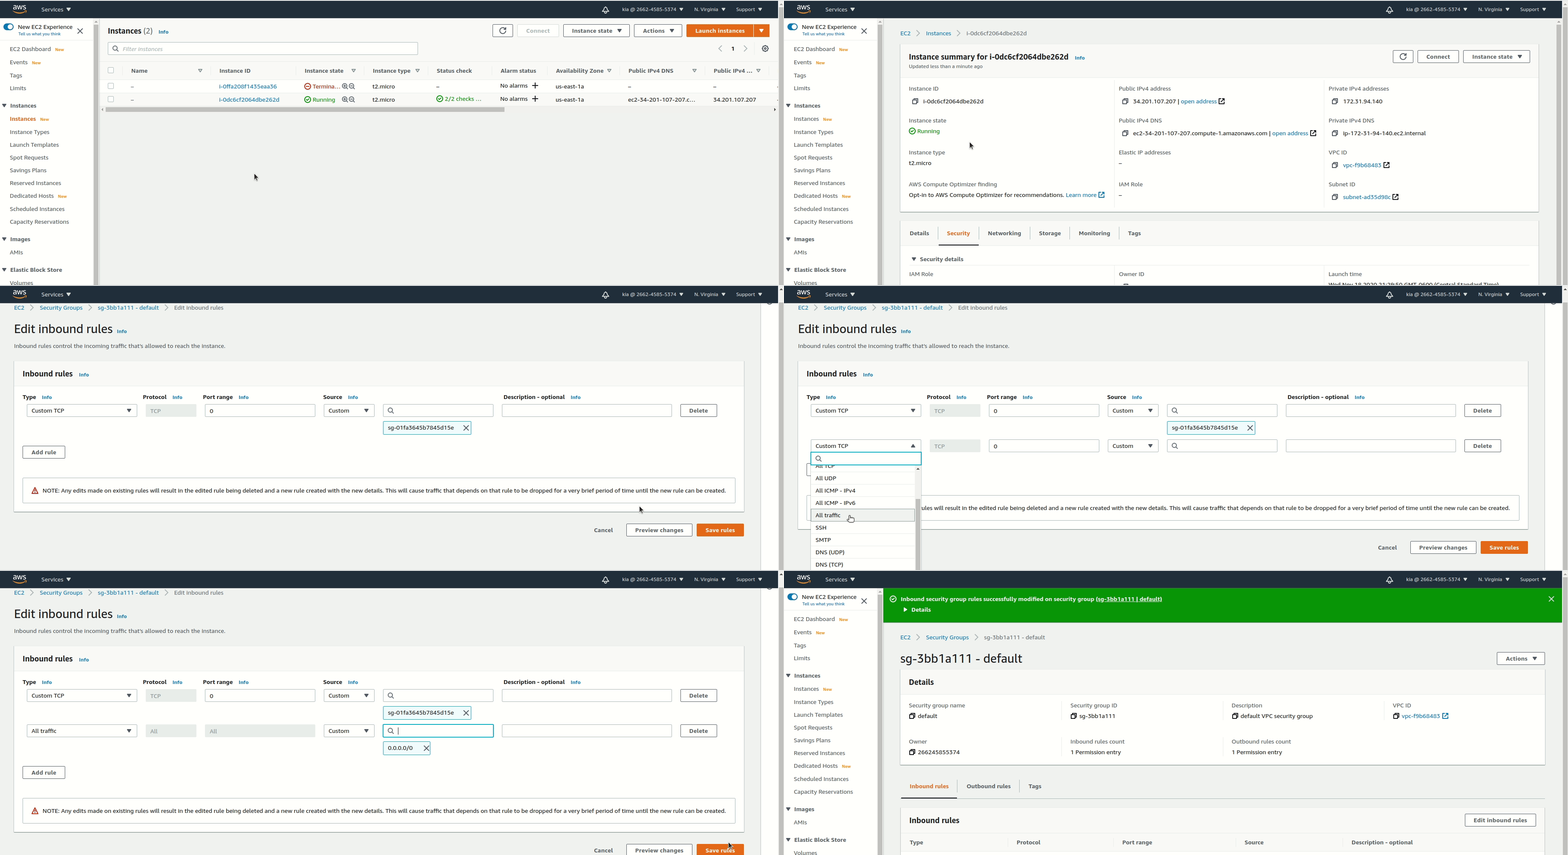
What just happened? You told AWS “let anyone on the internet talk to my server.” In production, you’d be more specific, but for learning, this works great!
Method 1: The Hands-On Way (SSH Connection)
SSH stands for “Secure Shell”—it’s like having a secure phone line directly to your server. You’ll type commands, and your server will execute them instantly.
Step 1: Deploy Your Server
First, make sure you have a server running:
# From your my-first-ec2 directory
terraform apply
Type yes when prompted. Wait for the “Apply complete!” message.
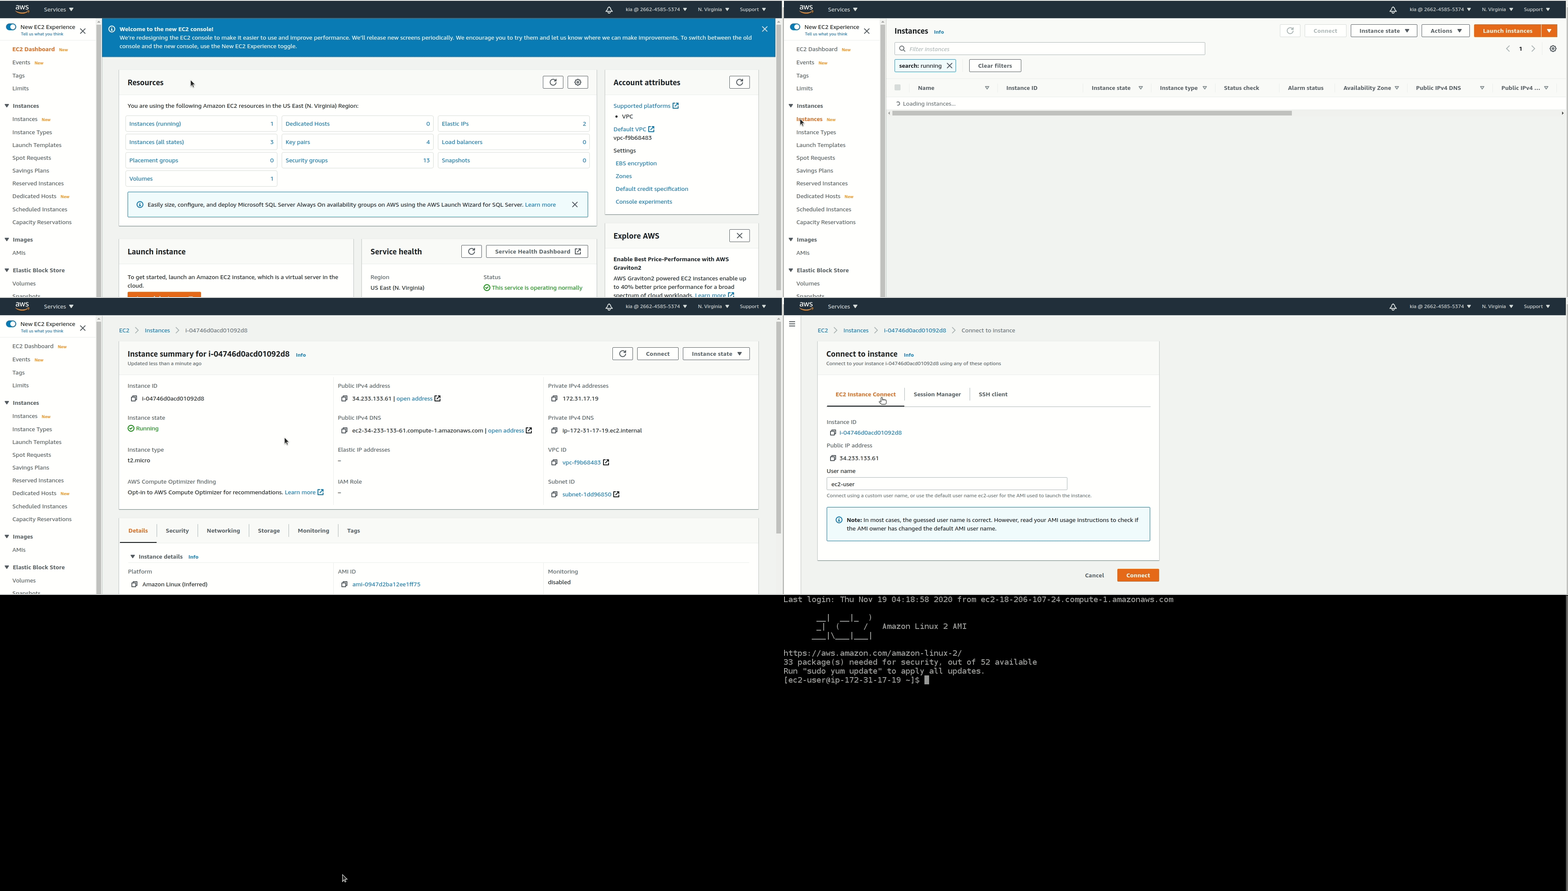
Step 2: Connect to Your Server
This is like opening a remote control session to your cloud computer:
- Go to Your Instance
- In AWS Console, go to EC2 → Instances
- Click on your instance ID
- Connect
- Click the “Connect” button (top right)
- Choose “EC2 Instance Connect”
- Click “Connect”
- You’re In!
- A new browser tab opens with a black terminal screen
- This terminal is running ON your cloud server!
Step 3: Transform Your Server into a Web Server
Now you’ll run commands that install and configure web server software. Each command does something specific:
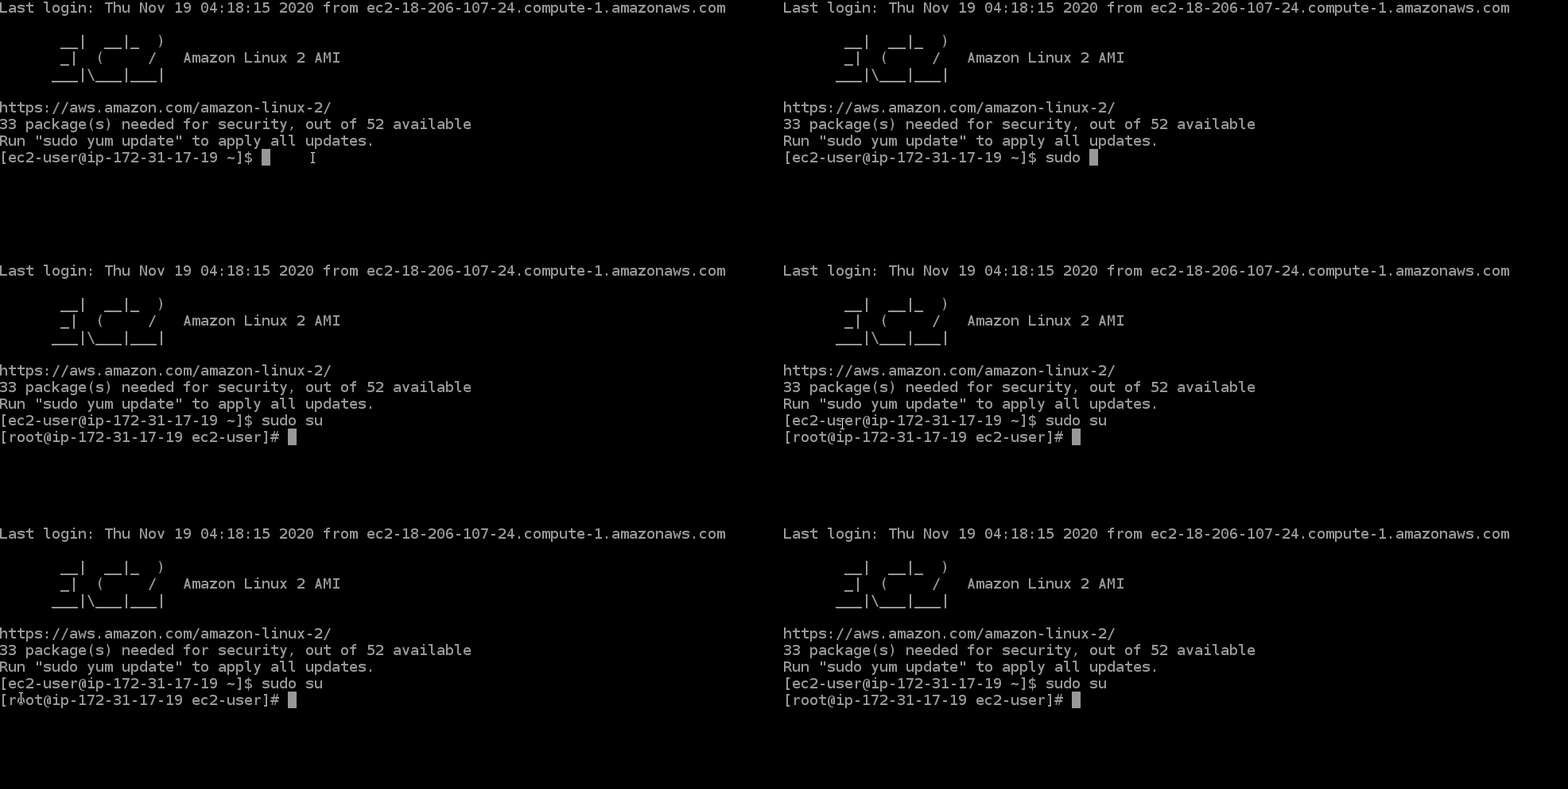
- Become the Super User
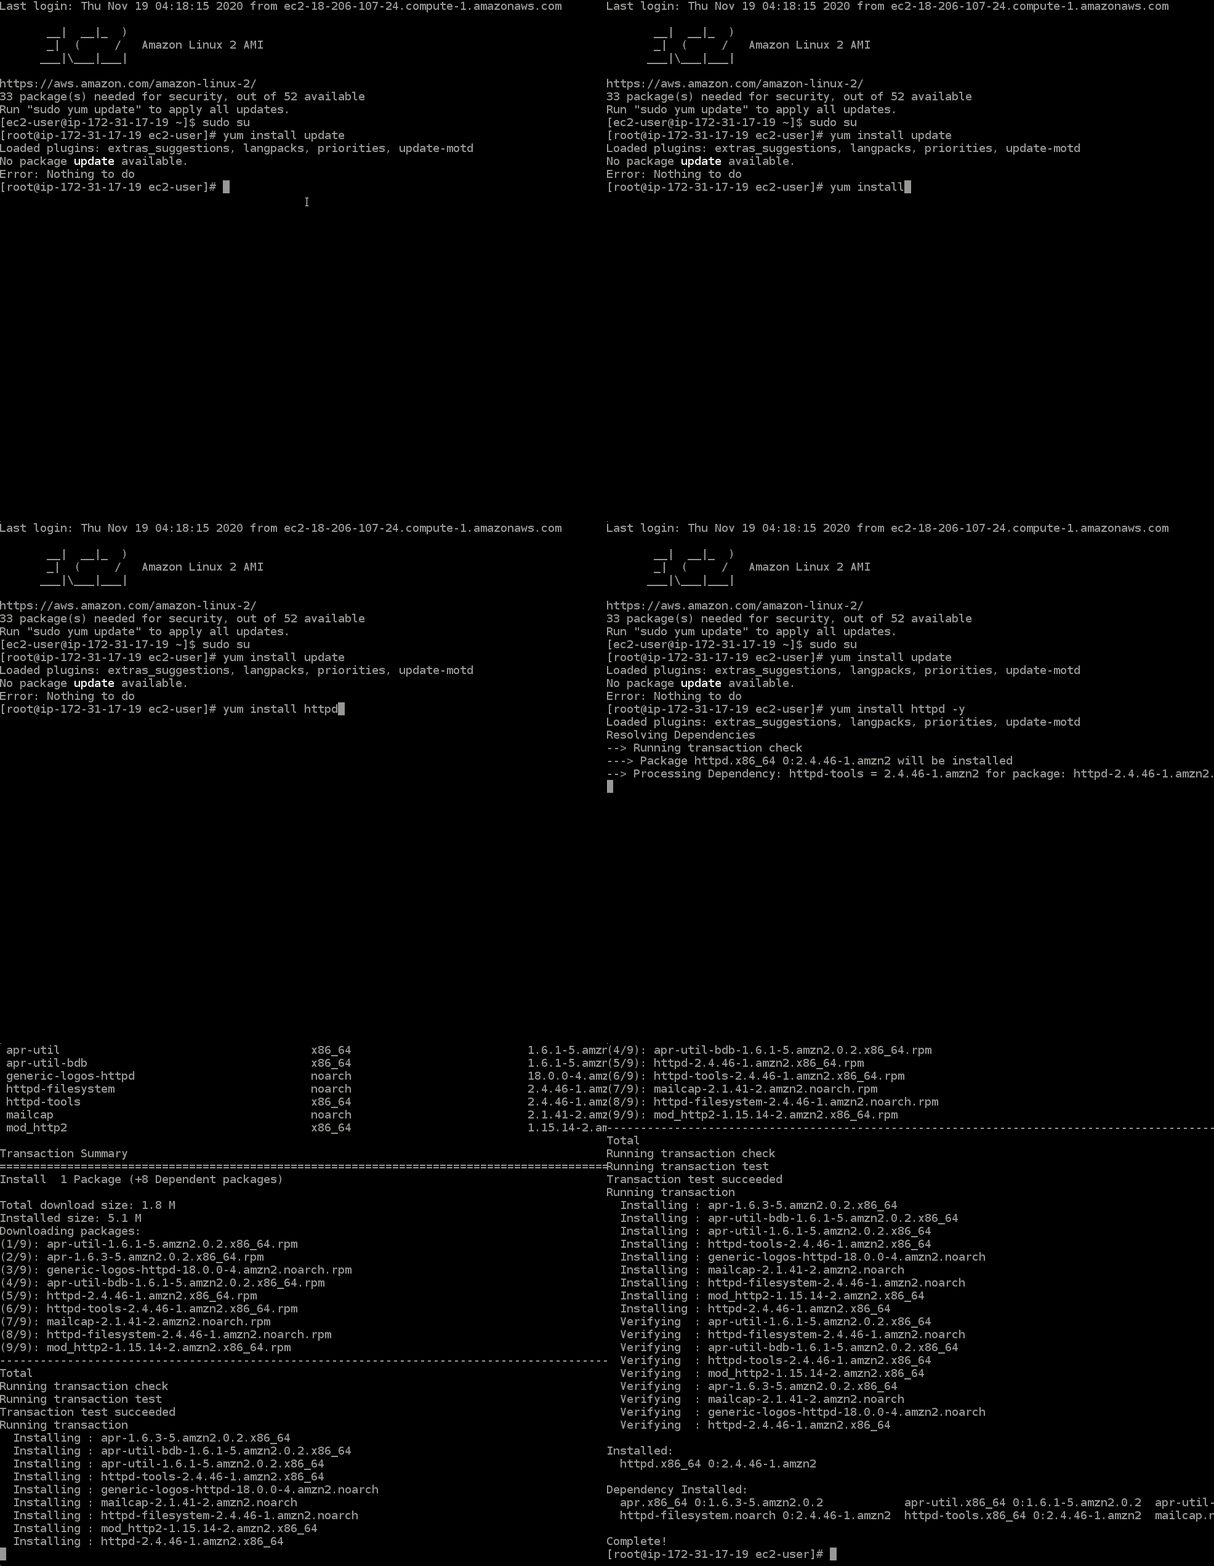
sudo suWhat this does: Changes you to “root user”—like becoming the administrator with full permissions.
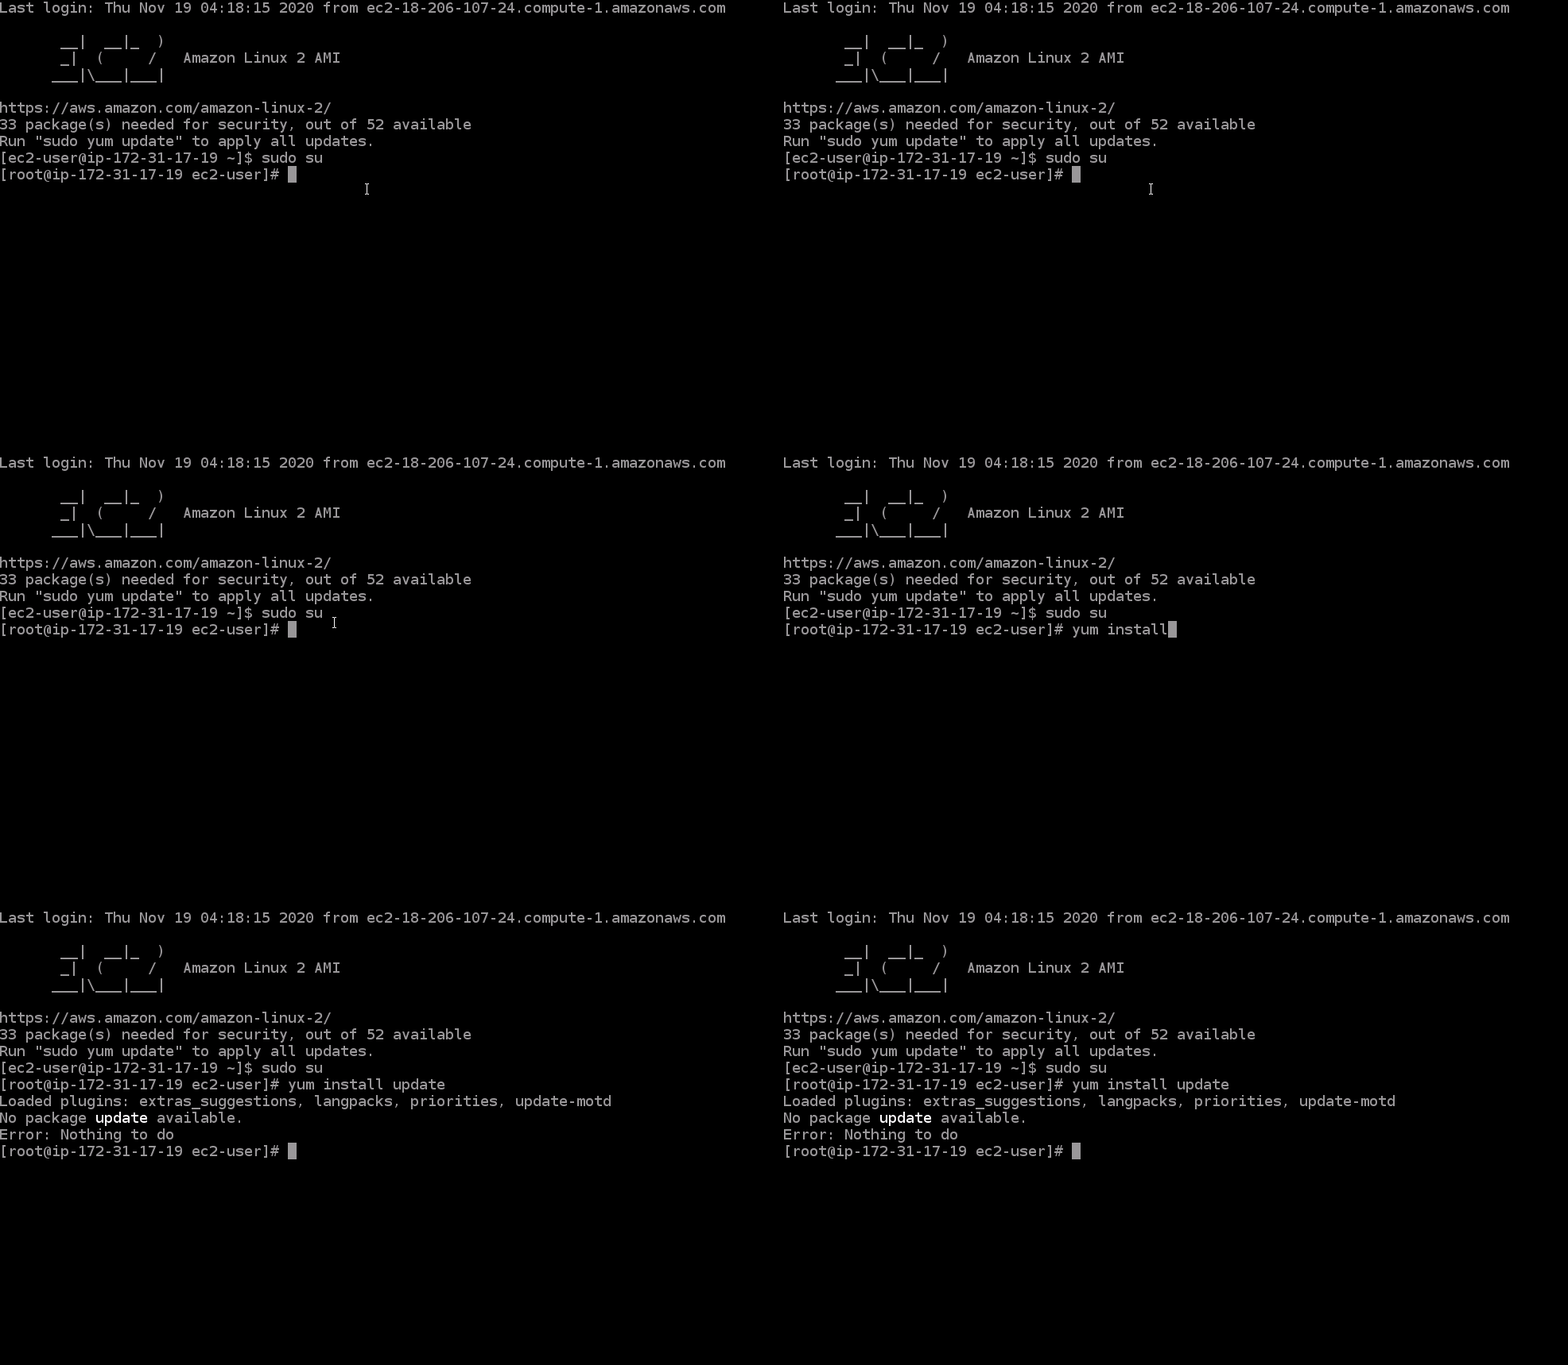
- Update Everything
yum update -yWhat this does: Downloads and installs the latest updates for your server (like updating your phone’s apps).
- Install Web Server Software
yum install httpd -yWhat this does: Installs Apache HTTP server—the software that serves web pages.
- Go to the Website Folder
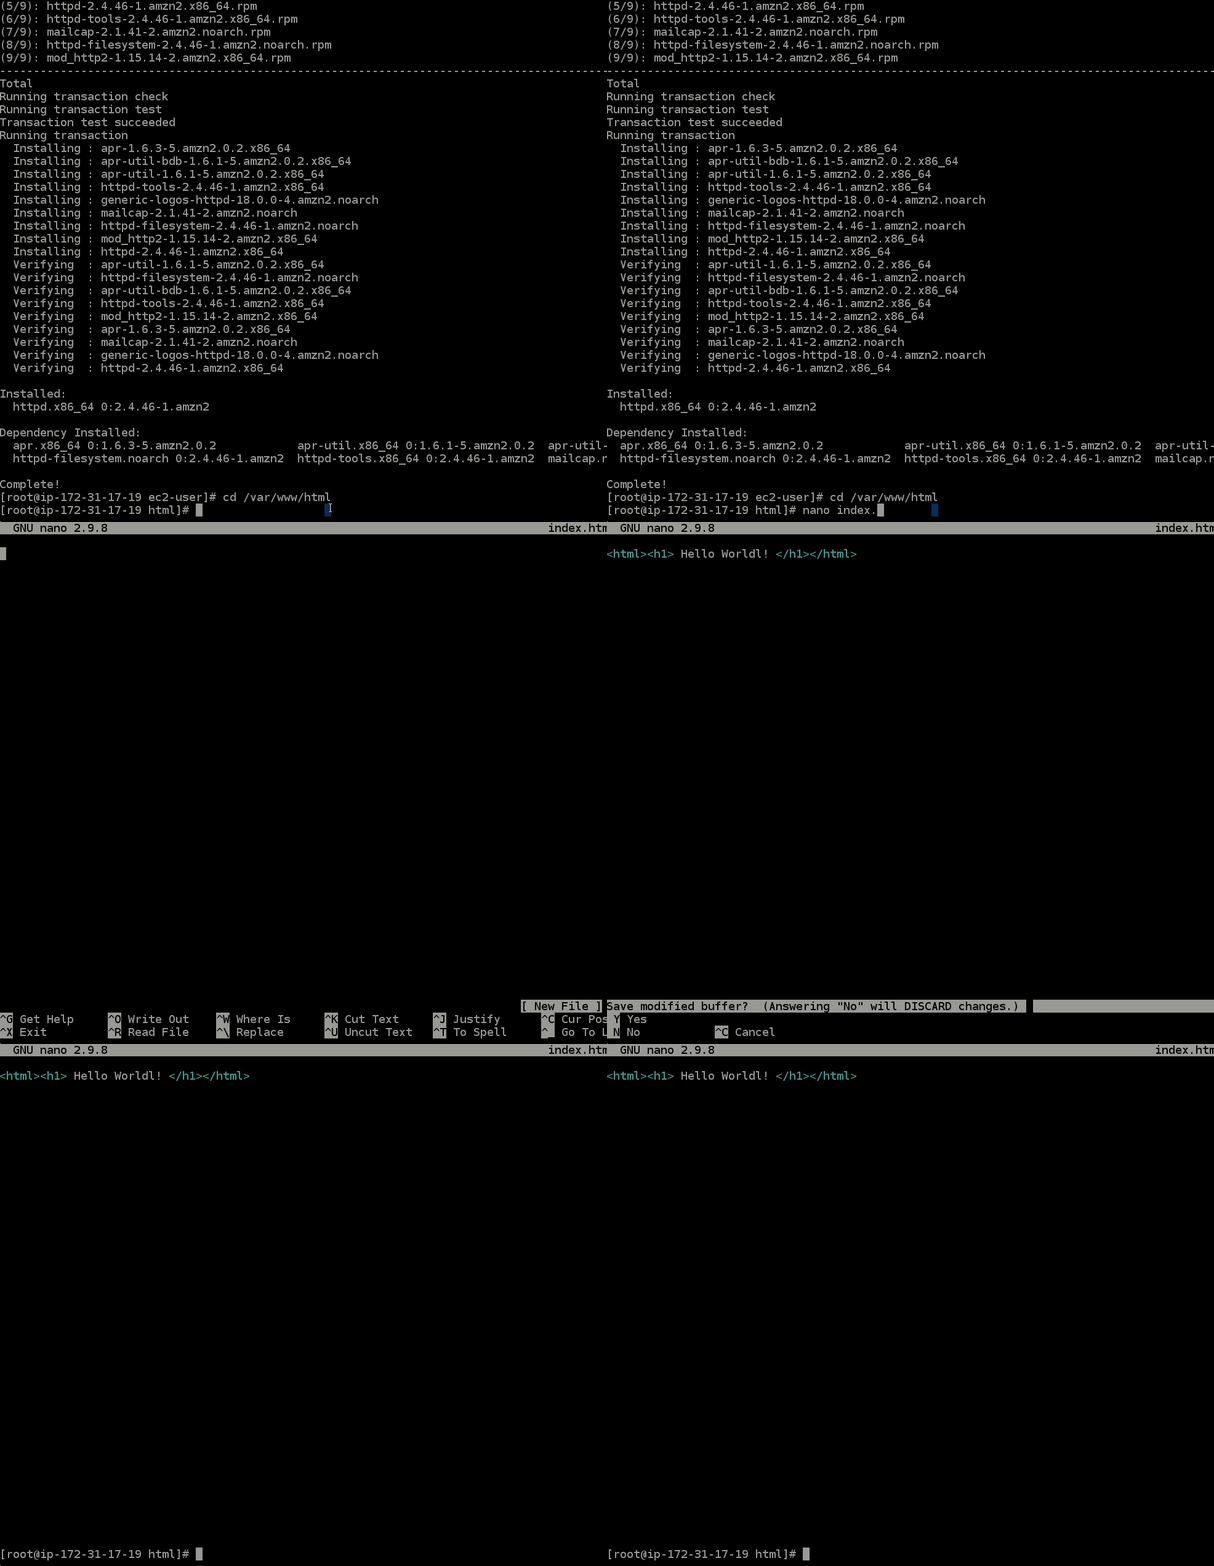
cd /var/www/html/What this does: Changes to the folder where web pages are stored.
- Create Your First Web Page
nano index.htmlWhat this does: Opens a text editor to create your website’s main page.
- Add Your Content Copy and paste this into the editor:
<html><h1>Hello World! My first web server!</h1></html> - Save and Exit
- Press
Ctrl + X - Type
y(for yes) - Press
Enter
- Press
- Start Your Web Server
service httpd startWhat this does: Turns on your web server—now it’s ready to serve pages!
- Exit the Connection
exit  # Exit root user
exit  # Exit SSH connection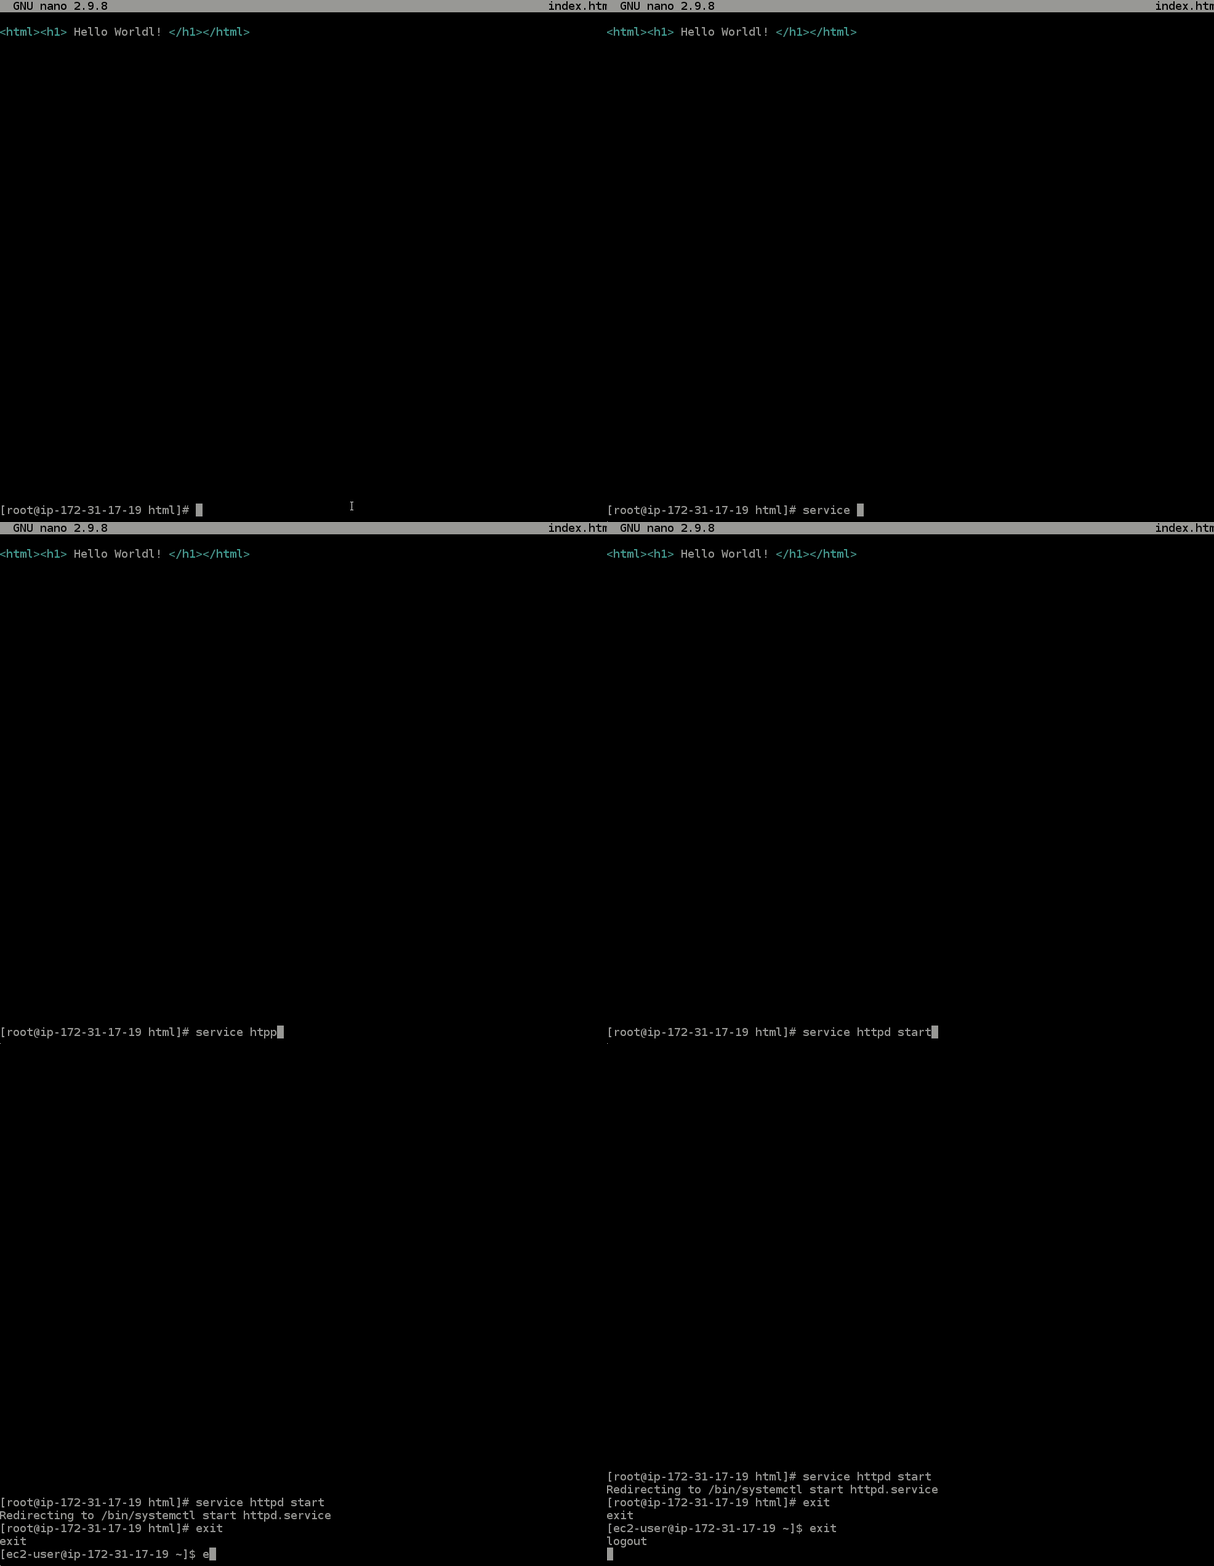
Step 4: See Your Website Live!
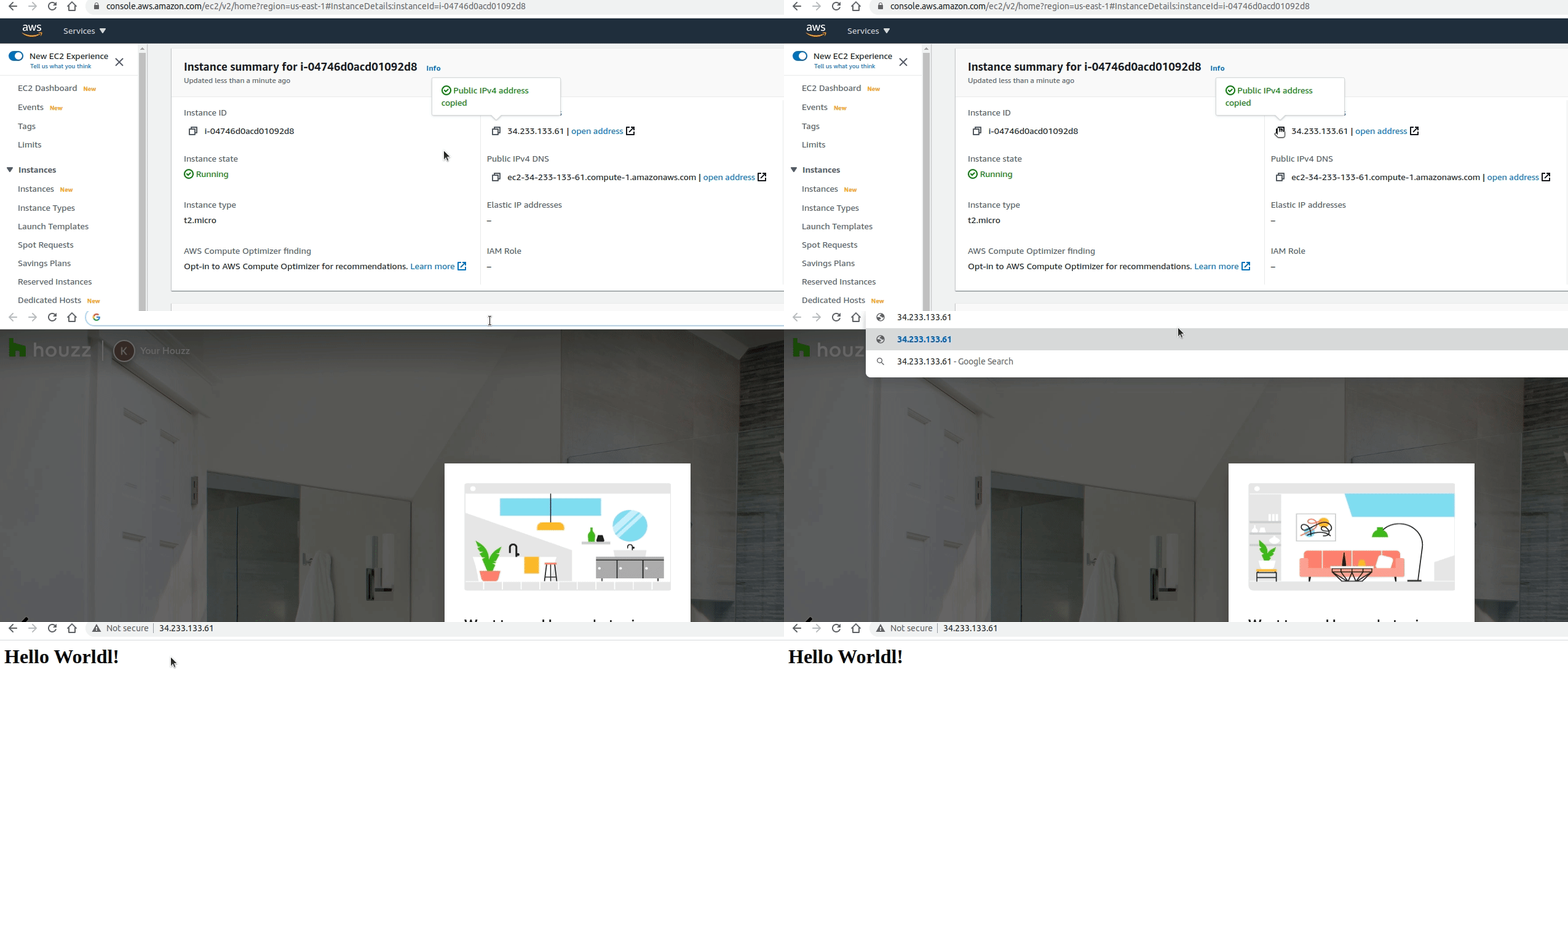
- Get Your Server’s Address
- In AWS Console, click on your instance
- Find “Public IPv4 address”
- Copy this address
- Visit Your Website
- Paste the address into a new browser tab
- Press Enter
- Celebrate!
- You should see “Hello World! My first web server!”
- You just created a website that anyone on the internet can visit!
Step 5: Clean Up
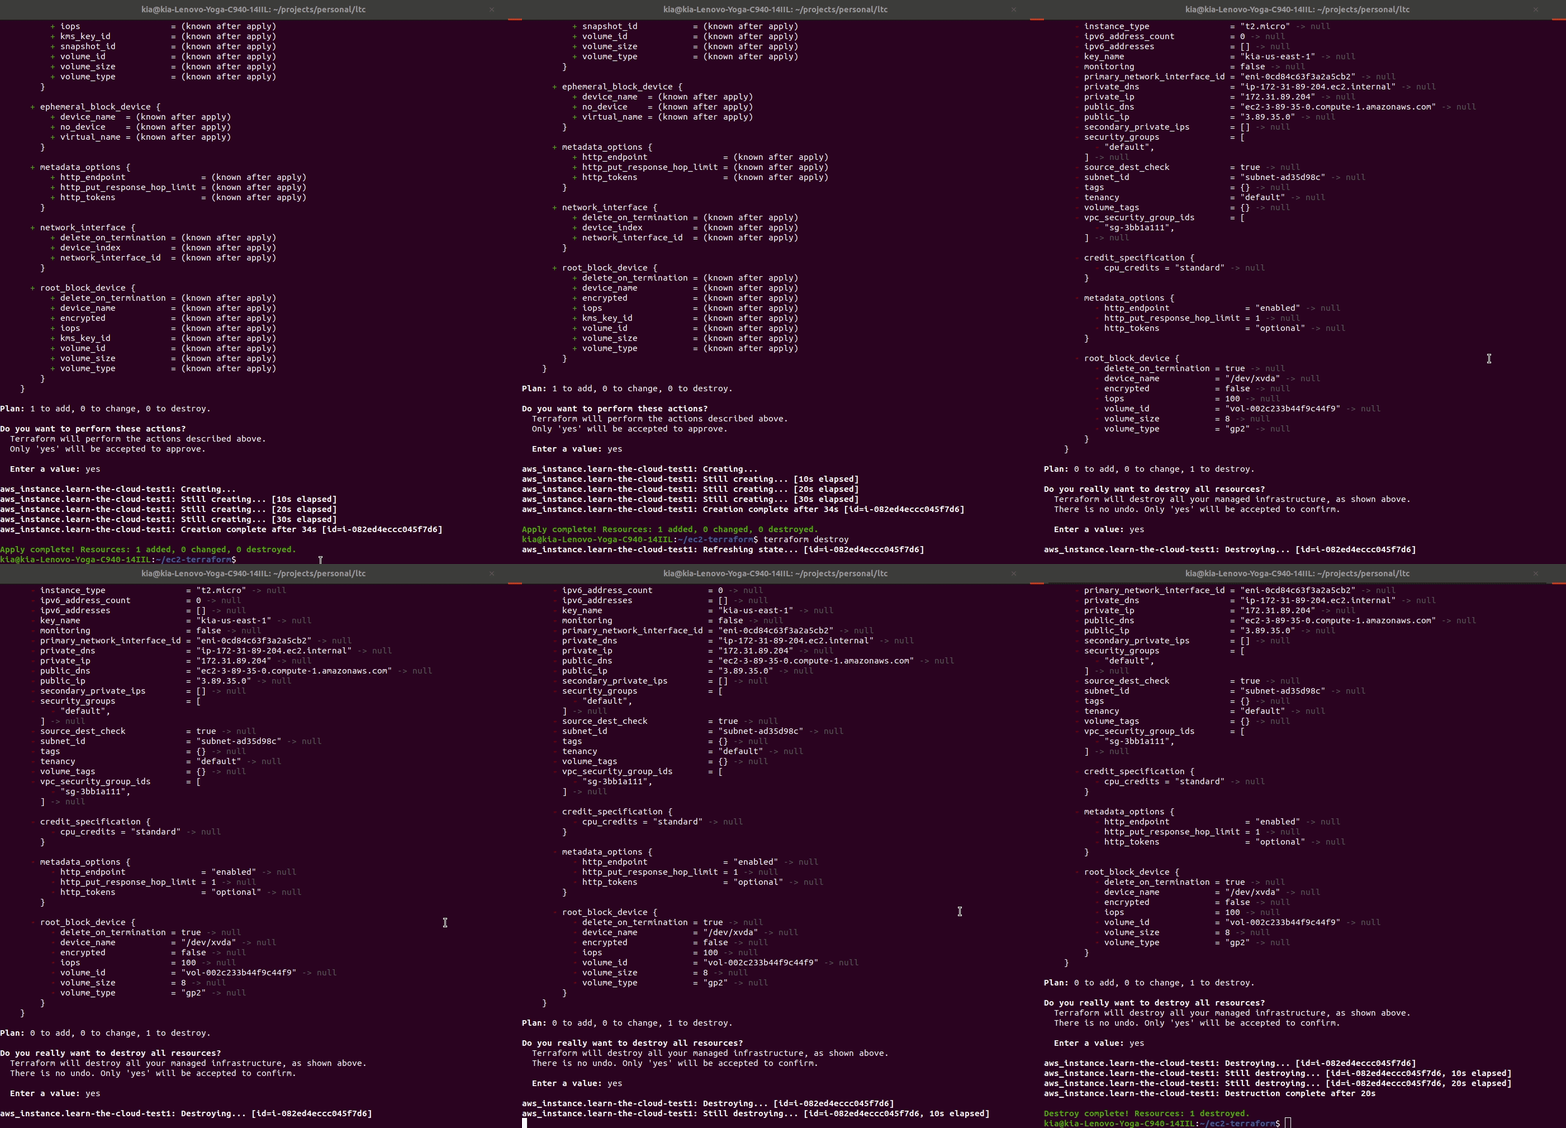
terraform destroy
Type yes to delete your server and avoid charges.
Method 2: The Automated Way (User Data)
Now let’s do the same thing, but with code that runs automatically when your server starts. This is how professionals do it—no manual work required!
What is User Data?
User data is like giving your server a to-do list that it follows when it first boots up. Instead of manually connecting and typing commands, you write a script that does everything automatically.
Step 1: Update Your Terraform Code
Open your ec2.tf file and add the user data script. Your file should look like this:
# Create a virtual server in the cloud
resource "aws_instance" "my_first_server" {
  ami           = "ami-0c02fb55956c7d316"  # Amazon Linux
  instance_type = "t2.micro"               # Server size (free tier)
  key_name      = "yourname-us-east-1"     # Replace with YOUR key pair name

  # Automatically set up web server when server starts
  user_data = <<-EOF
    #!/bin/bash
    yum update -y
    yum install httpd -y
    cd /var/www/html
    echo "<html><h1>Hello! Welcome to Learn the Cloud!</h1></html>" > index.html
    service httpd start
  EOF

  # Add labels to identify this server
  tags = {
    Name        = "My-Automated-Web-Server"
    Environment = "Learning"
    Owner       = "Your Name"
  }
}
What’s happening here?
user_data: A script that runs when the server first starts#!/bin/bash: Tells the server “this is a bash script”- The commands are the same ones you typed manually before
echo "..." > index.html: Creates the web page file directly<<-EOFandEOF: Terraform’s way of handling multi-line text
Step 2: Deploy Your Automated Server
terraform apply
Type yes and wait for completion.
Step 3: Test Your Website
- Get the IP Address
- Go to AWS Console → EC2 → Instances
- Click your instance
- Copy the “Public IPv4 address”
- Visit Your Site
- Paste the IP in a browser tab
- You should see “Hello! Welcome to Learn the Cloud!”
The magic: Your server automatically became a web server—no manual setup required!

Step 4: Clean Up
terraform destroy
What You’ve Accomplished
✅ Learned about security groups - Digital firewalls for your servers
✅ Connected directly to a cloud server - Used SSH like a pro
✅ Manually set up a web server - Ran commands on a remote computer
✅ Created your first website - Made something people can visit on the internet
✅ Automated server setup - Used Infrastructure as Code for zero-touch deployment
✅ Understood user data scripts - Made servers configure themselves
You’ve just done what takes most people months to learn! You can now create web servers that serve content to the entire internet.
The Big Picture
What you learned applies everywhere:
- SSH skills: Connect to any Linux server in the world
- Command line: Manage servers without graphical interfaces
- Automation: Write code that sets up infrastructure automatically
- Web servers: The foundation of every website and app
Practice Challenges
Want to cement your skills? Try these:
Challenge 1: Personalize Your Website
Change the HTML message to include your name:
<html><h1>Hello! I'm [Your Name] and this is my first web server!</h1></html>
Challenge 2: Create a Colorful Page
Try this more advanced HTML:
<html>
<head><title>My First Server</title></head>
<body style="background-color: lightblue;">
  <h1 style="color: red;">Welcome to My Web Server!</h1>
  <p>This server is running in the AWS cloud!</p>
</body>
</html>
Challenge 3: Practice the Process
- Delete your user data from
ec2.tf - Deploy a basic server
- Manually set it up via SSH
- Add user data back
- Compare the automated vs manual approaches
Next Steps
Ready to make your infrastructure even more powerful? Head to Terraform Variables where you’ll learn to make your code flexible and reusable!
Pro Tip: The automation approach you just learned is how companies deploy thousands of servers. You’re already thinking like a professional cloud engineer!