Code Editor
Lesson 1
A code editor is where you’ll write all your cloud infrastructure code. Think of it as a specialized word processor designed for programming—it highlights your code with colors, helps you spot errors, and makes writing infrastructure configurations much easier.
In this course, you’ll use your code editor to:
- Write Terraform configurations to create AWS resources
- Build serverless applications with Node.js
- Manage your project files and documentation
Table of contents
Choosing Your Code Editor
If you already have a favorite code editor, stick with it! If not, here are our top recommendations for beginners:
Visual Studio Code (Recommended for Beginners)
Pros:
- Completely FREE
- Lightweight and fast
- Huge community support
- Excellent extensions for Terraform, AWS, and Node.js
- Built-in terminal and Git integration
Perfect for: Anyone starting their cloud journey who wants a powerful, free editor
WebStorm by JetBrains
Pros:
- Superior code intelligence and auto-completion
- Built-in Terraform support
- Advanced debugging tools
- Professional-grade features
Cost: ~$6/month (free 30-day trial)
Perfect for: Those willing to invest in premium tools for enhanced productivity
Note: Most screenshots in this guide use WebStorm, but all exercises work perfectly in VS Code.
Installation Steps
- Click the download link for your chosen editor
- Run the installer (the download should start automatically)
- Follow the installation wizard—stick with default settings
- Launch your new code editor
VS Code Users: After installation, install these helpful extensions:
- Open VS Code
- Click the Extensions icon (square icon on the left sidebar)
- Search for and install:
- “HashiCorp Terraform” (for Terraform syntax highlighting)
- “AWS Toolkit” (for AWS integration)
- “GitLens” (for Git features)
Your First Project File
Let’s create your first project documentation file. This README will grow throughout the course as you build your portfolio.
Step 1: Create a Project Folder
- Create a new folder on your computer called
aws-projects - Open this folder in your code editor:
- VS Code: File → Open Folder → Select
aws-projects - WebStorm: File → Open → Select
aws-projects
- VS Code: File → Open Folder → Select
Step 2: Create Your README
- In your code editor, create a new file: File → New File
- Name it
README.md(the.mdextension stands for Markdown—a simple formatting language) - Type the following:
# AWS Cloud Portfolio

## Projects

### 1. Terraform Load-Balanced WordPress Site
Coming soon!
- Save the file (Ctrl+S or Cmd+S)
Step 3: Preview Your Markdown
Most editors let you preview how your README will look:
VS Code:
- Right-click the file tab and select “Open Preview to the Side”
- Or press
Ctrl+K V(Windows/Linux) orCmd+K V(Mac)
WebStorm:
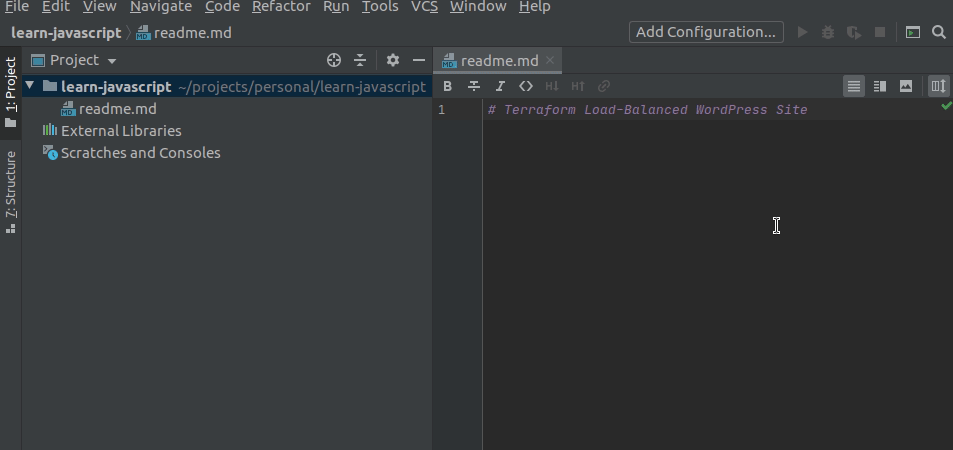
- Click the preview icon in the top-right corner of the editor
What You’ve Accomplished
✅ Installed a professional code editor
✅ Created your first project folder
✅ Started your portfolio README
✅ Learned basic Markdown formatting
Great work! You now have the foundation for all your future cloud projects.
Next up: Learning Terminal Basics - where you’ll run commands to control AWS!