Launch a basic EC2 with terraform
Lesson 1
Now it’s time to launch your first EC2 instance! Remember, an EC2 instance is just a computer in the cloud. AWS is providing you with EC2 servers you can use to host your applications, servers, websites and more!
While you could launch an instance manually in the AWS EC2 console (and feel free to go do so!), the scope of Learn the Cloud is to teach you with hands-on practice in terraform specifically. Terraform takes the manual work out of it for you – after you build the template the first time, every time you deploy an EC2 instance after that, it will be as simple as running a quick command in the terminal – much easier and less time-intensive than going through the steps in the console every time!
Note: We strongly encourage you work in
us-east-1, as many values will change if you do not.
Table of contents
Key Pairs
If an EC2 instance is like your laptop, then you can think of a key pair like a password you use to unlock your laptop.
A key pair is what AWS uses to make sure you are allowed to connect to an EC2 instance. Since key pairs are like passwords for you EC2 instance, every time you launch an EC2 instance, you’ll need to designate a key pair to use. Key pairs are created in specific regions. While there are no hard and fast rules for how many key pairs you should have, a good rule of thumb is 1 key pair per environment (ie development, staging, production), per region (ie us-east-1, etc). We’ll talk more about that later though!
Create your first key pair
Before you can launch an EC2 instance, you’ll need to create a key pair:
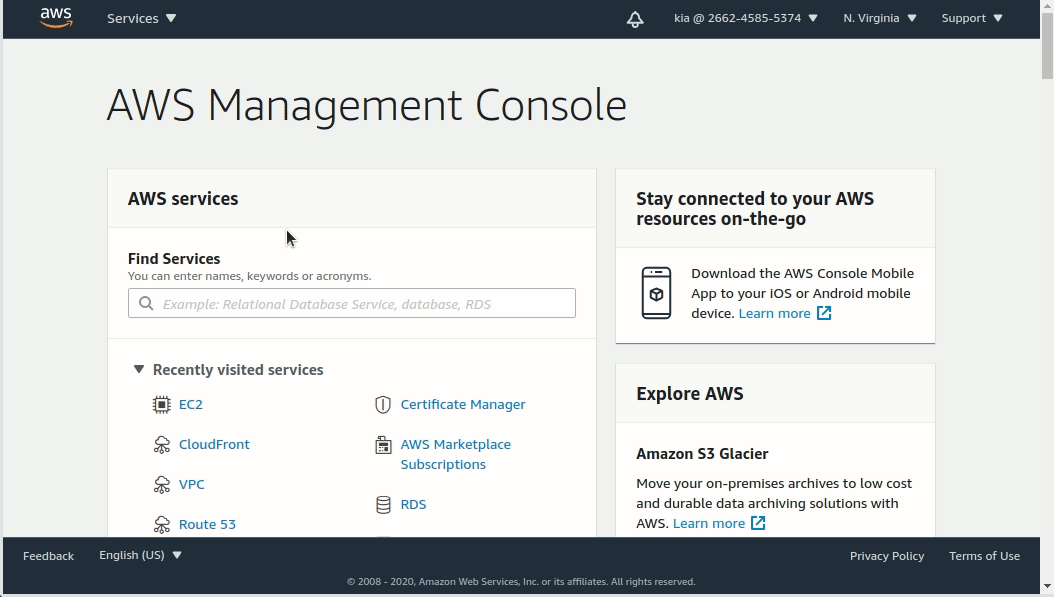
- Login to the AWS console using the sign-in link you bookmarked in the Getting Started: AWS Account.
- In the upper left-hand corner of the home page, click
Servicesand typekey pairsinto the search box. SelectEC2from the dropdown. - On the left-hand side navigation pane, look for
Network & Security. Click theKey Pairssection beneath it. - Click
Create key pairin the upper right. - Enter a
yourname-us-east-1for the name of yourkey pair, choosepemformat and clickCreate key pairagain.
Your key pair will download to your computer. Save it somewhere you’ll remember, although you won’t need it for now.
Terraform - EC2
- You will need to open up the
code editoryou downloaded and set up in the Getting Started: Code Editor section. - You will also need to open up your
terminal.
Create the project structure
Before we build out our terraform code, in your terminal you will first need to create the directory and files for your ec2-terraform project. You will need to create a directory called ec2-terraform, and the following files: aws.tf and ec2.tf.
We suggest you test out your terminal command skills and try it without the Instructions below, but if you get stuck or just want direction expand the section below.
Instructions
- Create a directory called
ec2-terraform:mkdir ec2-terraform - Change into your new directory
cd ec2-terraform - Create the necessary terraform files:
- A file for your aws information:
touch aws.tf - A file for your ec2 resource:
touch ec2.tf
- A file for your aws information:
Write some terraform code!
Now that you have your project structure built, you can start writing some terraform (don’t worry - we’ll guide you along).
We have written instructions for you to follow, and, at the end, we have included a couple short videos, or gifs, for you to watch. Just click the See walk-through. arrow below.
NOTE: If you get an error in
WebStormthat says it doesn’t recognize the file type (*.tf), then navigate to this link, click the blueInstall to IDEbutton and selectWebStormfrom the list. This will install the terraform language recognition you need.NOTE: If you are using
Visual Studio Codeand receive a similar error, navigate to this link and NEED TO FILL IN HERE>
- In your
code editor, open up yourec2-terraformproject. - Open the
aws.tffile. Copy the below code, paste it into your file, andSave(ctrl + S (Linux/Windows) or cmd + S (Mac)).provider "aws" { region = "us-east-1" }This is the
provider { }block we mentioned in the Getting Started: Terraform section. This code block tells terraform to build resources withaws(and notgoogle cloud,azure, or any other cloud provider). It also tells terraform theregionyou want your AWS resources deployed in. - Open the
ec2.tffile. Copy the below code, paste it into your file, andSave.resource "aws_instance" "learn-the-cloud-test1" { ami = "ami-0947d2ba12ee1ff75" instance_type = "t2.micro" key_name = "yourname-us-east-1" }This is a
resource { }block (also mentioned in the Getting Started: Terraform section). Thisresourceis anaws_instancenamedlearn-the-cloud-test1. This code block tells terraform what resource you want to build in AWS. In this case, you want to build an EC2 instance (oraws_instanceas terraform calls it). To build an EC2 instance, you need to give terraform the following information:- The
ami/image_id - The
instance_type - The
key pair/key_name
- The
These are called parameters. They customize the EC2 instance and provide terraform the necessary information it needs to launch an instance for you. You will learn more about all of the above. For now, we have provided you with what you need to put as long as you have been working in the us-east-1 region.
You might notice that this code feels familiar. In the Getting Started: Terraform section, you created a very similar first project. A couple differences to note:
- This time, we have created two files instead of one:
aws.tfandec2.tf. We’ve done this strictly for ease of organization. Terraform doesn’t care if you separate your resources into multiple files or not - as long as it is a terraform directory, terraform will handle finding the files and code for you. - We’ve added one more field to our EC2 instance -
key pair. Last time, we only used the required fields (instance_typeandami). You will learn more about all of these fields later, so for now just follow along and get a feel for the process.
See walk-through
- Finding your project’s path and opening it in WebStorm.
- Pasting in the provided code into
aws.tfandec2.tf.
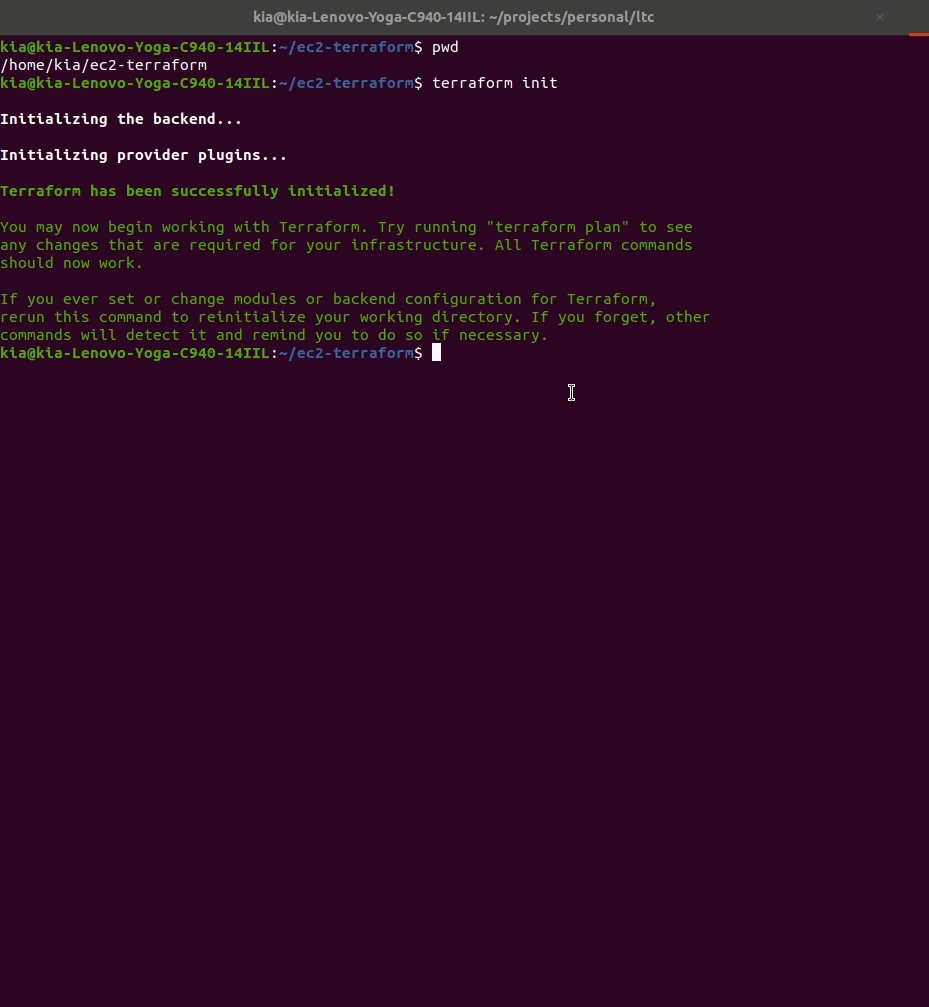
Run terraform init
Now that you have your first terraform code written, you get to initialize the directory.
- In your
terminal, make sure you are still in yourec2-terraformdirectory by typingpwd. It should print something similar tohome/yourname/ec2-terraform. If you aren’t,cdinto it. - Run the command:
terraform initThis command will
initializea terraform directory. You only need to run this command once every time you start a new project. This command tells terraform (which you downloaded on your computer in Getting Started) that this directory is aterraform directoryand that the files inside it will be used to launch resources with terraform.
Run terraform apply
Now you get to deploy your EC2 instance into AWS!
- In your
terminal, make sure you are still in yourec2-terraformdirectory by typingpwd. It should print something similar tohome/yourname/ec2-terraform. If you aren’t,cdinto it. - Run the command:
terraform apply - Terraform will list out the resources/changes it wants to make to your AWS account for you, then ask you for input. Type
yesto allow terraform to build your EC2.
This command will
applythe terraform code in youaws.tfandec2.tffiles. Everything happens behind the scenes–terraform finds the right files it needs and knows to use the default AWS profile you have stored (remember in Getting Started when we created our profile and saved our AWS Access and Secret keys? That’s where this comes in!).
- Once
terraform applyis complete (you’ll get a message that says,Apply complete!), log in to your AWS account, go to theEC2UI (search for EC2 in theServicessearch box) and find your EC2 instance! Look for the following:- Find the
amiand make sure it matches what you put in terraform. - Find the
instance typeand make sure the instance type matches what you put in terraform. - Make sure the instance is in the
regionyou told terraform to use.
- Find the
Run terraform destroy
Now that you’ve seen your EC2 in AWS, you’ll run the last command you need for now, terraform destroy.
- In your
terminal, make sure you are still in yourec2-terraformdirectory by typingpwd. It should print something similar tohome/yourname/ec2-terraform. If you aren’t,cdinto it. - Run the command:
terraform destroyThis command will
destroyall the resources terraform just built for you (right now it’s only a single EC2 instance). You’ll need to respond withyesjust like you did when you ranterraform apply. While this isn’t incredibly important right now, later on in this course you will be building resources in AWS that can cost you a good bit of money if you don’t remember to delete them. Because we are building everything with terraform, you can simply runterraform destroyevery time you’re done with a lesson and terraform will take care of it for you!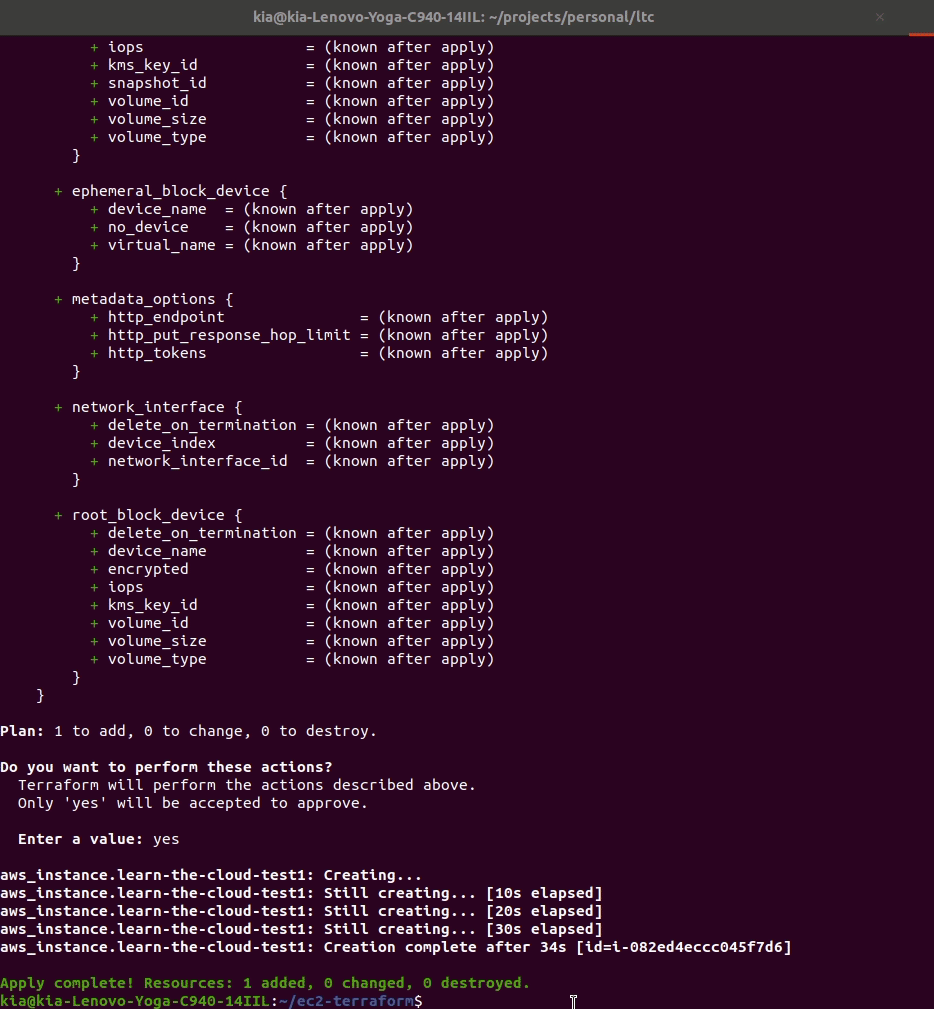
Next Steps
You’ve now launched your first EC2 instance using terraform! How you feel about the process determines what you should do next.
Redo the lesson (optional)
If you don’t feel as comfortable as you’d like with the above lesson, you can start over from scratch in one of two ways.
- You can simply
cdinto your home directory and create a new project directory calledec2-terraform2(note: you will need to change all references in the lesson toec2-terraform2instead ofec2-terraform), OR - You can delete everything and begin again.
- To do this, you need to be in the directory your
ec2-terraformproject is in. If you followed along, this is in yourhome directory. - Next,
lsto make sure you seeec2-terraformlisted. If you don’t you’ll need to find out where you stored it first. If you do, continue on. - Run the command
rm -rf ec2-terraform. Note: This will completely remove the entire project. You will start from the very beginning of this lesson and won’t have a project folder until you create it again.
- To do this, you need to be in the directory your
- Go back to the beginning of the Lesson!
Move On
Now that you feel comfortable launching EC2 instances via terraform, you can move on to the next lesson, Web Server.